
Watermarks
Brand or proof your photos.
Put your name or logo on the photos you share, or a clear PROOF while clients pick favorites. Auto keeps your mark off faces, and your Originals stay clean on your account. Included with Premium and Power Premium.

See it, step by step.
Real screens from a real gallery. Tap any picture to see it larger.
1. Open Tools, then WatermarksTwo clicks from My Home.
- Click Tools in My Home.
- Open the Watermarks card.
- Pick the album you want. You can also click Watermarks in an album’s bar, or in Edit Album.
- Included with Premium and Power Premium.
2. Choose Brand it or Proof itTwo jobs, one studio.
- Choose Brand it to put your name or logo on a gallery you’re delivering.
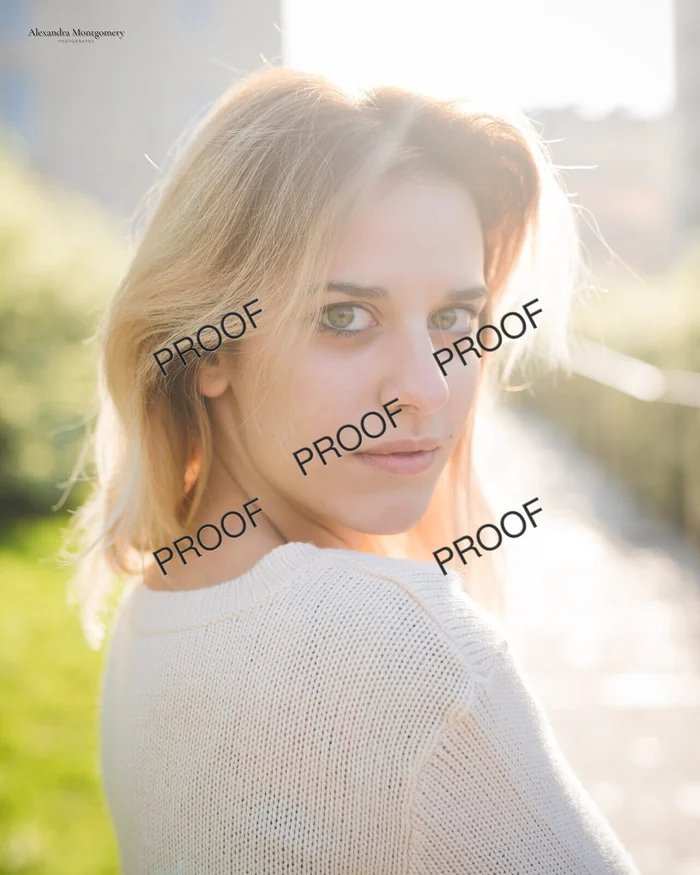
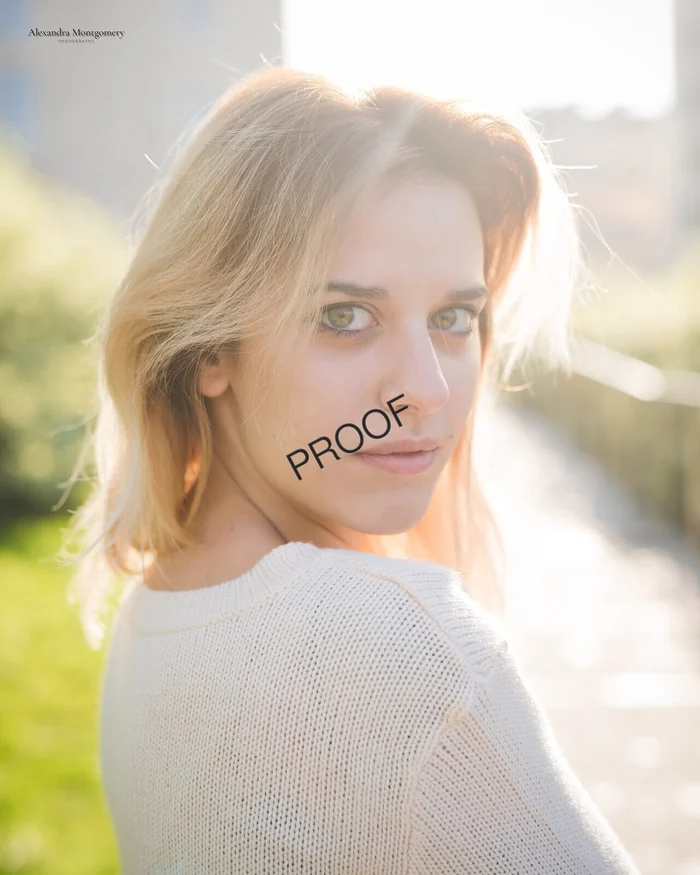
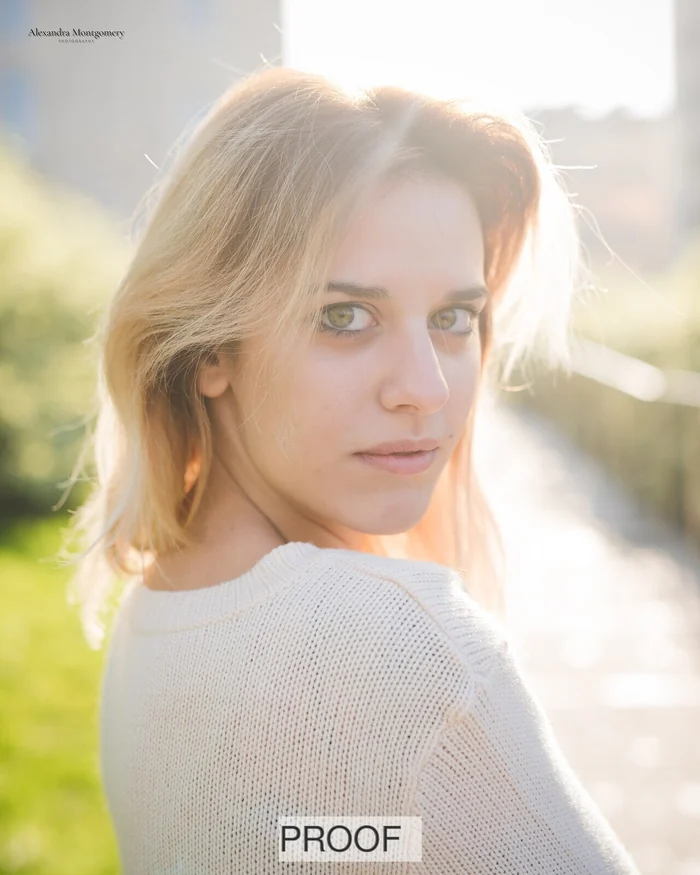
- Choose Proof it to put PROOF on every size while clients choose.
- The big preview on the left updates as you go, on your own photos. Click any photo in the strip to check it.
- Proof it keeps Original access off until you turn Proof off.
- Your uploaded Originals stay clean on your account either way.


3. Add your name or logoType it once, or bring your logo.
- Under Basics, type your name or studio.
- To use a logo, open Logo, choose a PNG or SVG (under 2 MB), and click Upload. A clear background works best.
- Pick Logo + name, Logo only, or Name only.
- Your logo keeps its own colors.


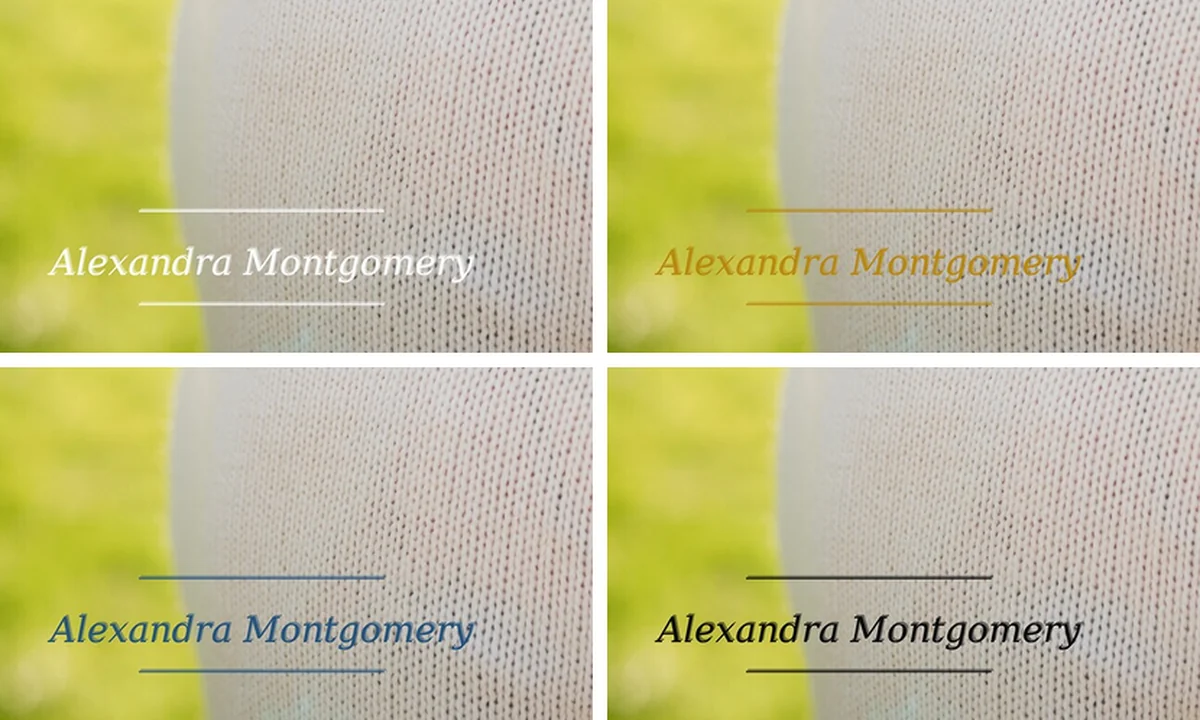
4. Pick a styleMore than 40 looks, each previewed on your name.
- Open Style. Every tile shows your name in that look.
- Filter by Modern, Editorial, Script, Serif, Block, or Seal. Open More styles for Capsule, Mono, Plate, Line, Stack, Ribbon, Outline, and Footer.
- Each style comes as a corner mark, a bar, or a badge. Click a tile again to go back to plain text.
- Want to see them on real photos? Browse the styles.
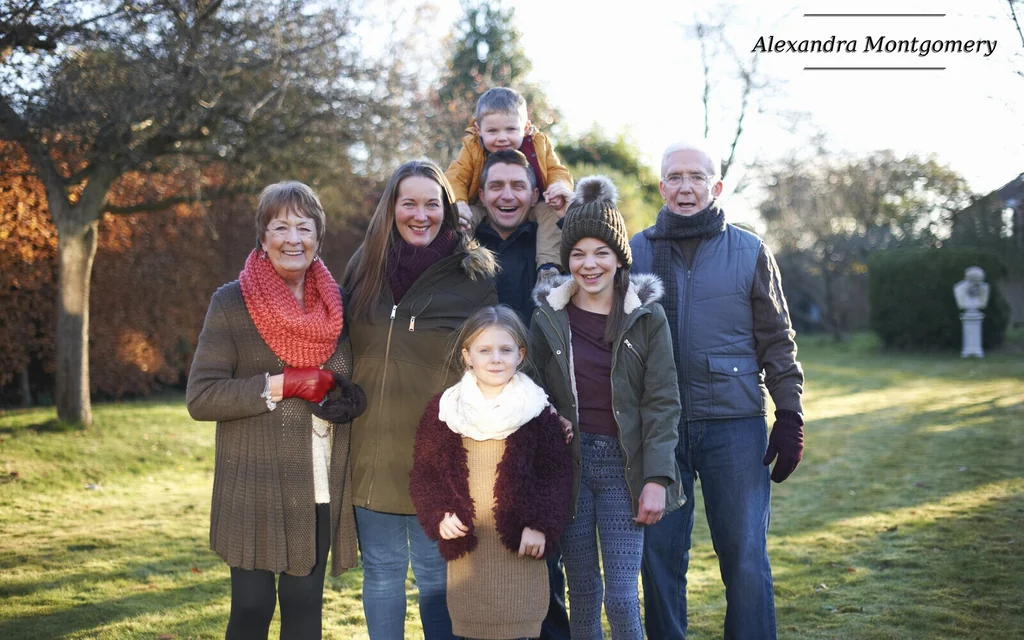

5. Let Auto avoid facesYour mark goes where faces aren’t.
- Under Place, choose Auto — avoids faces.
- Click through your photos. The mark moves off the faces on each one, and a note tells you when it did.
- Like bottom-right? Choose Prefer bottom-right. It moves only when a face is in the way. Or pin one of nine squares to lock a spot.
- Set the Size. Logos often look best around 12–20%.
Face detection is used only to place your mark. We don't store face locations, templates, or biometrics.


6. Fine-tune the lookStrength, shadow, and color.
- Open Look.
- Set the Opacity, and the Edge inset to move the mark in from the edge.
- Add a Soft shadow or Outline to help on busy photos.
- Pick a Color: Auto, white, black, navy, gold, crimson, forest, or slate.
- Color tints your name and styles. Your logo keeps its own colors.
- Repeat across the photo tiles your mark over the whole picture.

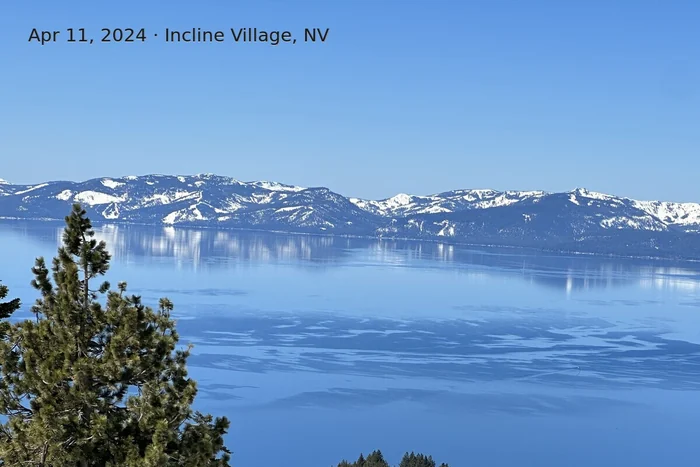
7. Add the date and placeStraight from your camera.
- Open Camera.
- Tick Show date taken, and Show location (city) if you like.
- Set the size. Auto — opposite your brand keeps it out of your mark’s way, or pin a corner.
- The date and city come from the photo’s own camera info.
- Location is a city name, never coordinates.
- The text turns light or dark to stay readable on each photo.

8. Choose sizes and Original accessDecide what people can see.
- Open Sizes.
- Pick which sizes get the mark: Small, Medium, Large, X-Large, and XX-Large. Tick Also mark thumbnails if you like.
- Tick Don’t offer Original Image access so people see only the marked sizes.
- Turn off a size to leave it unmarked.
- Marked sizes still show. Your Originals are not altered.
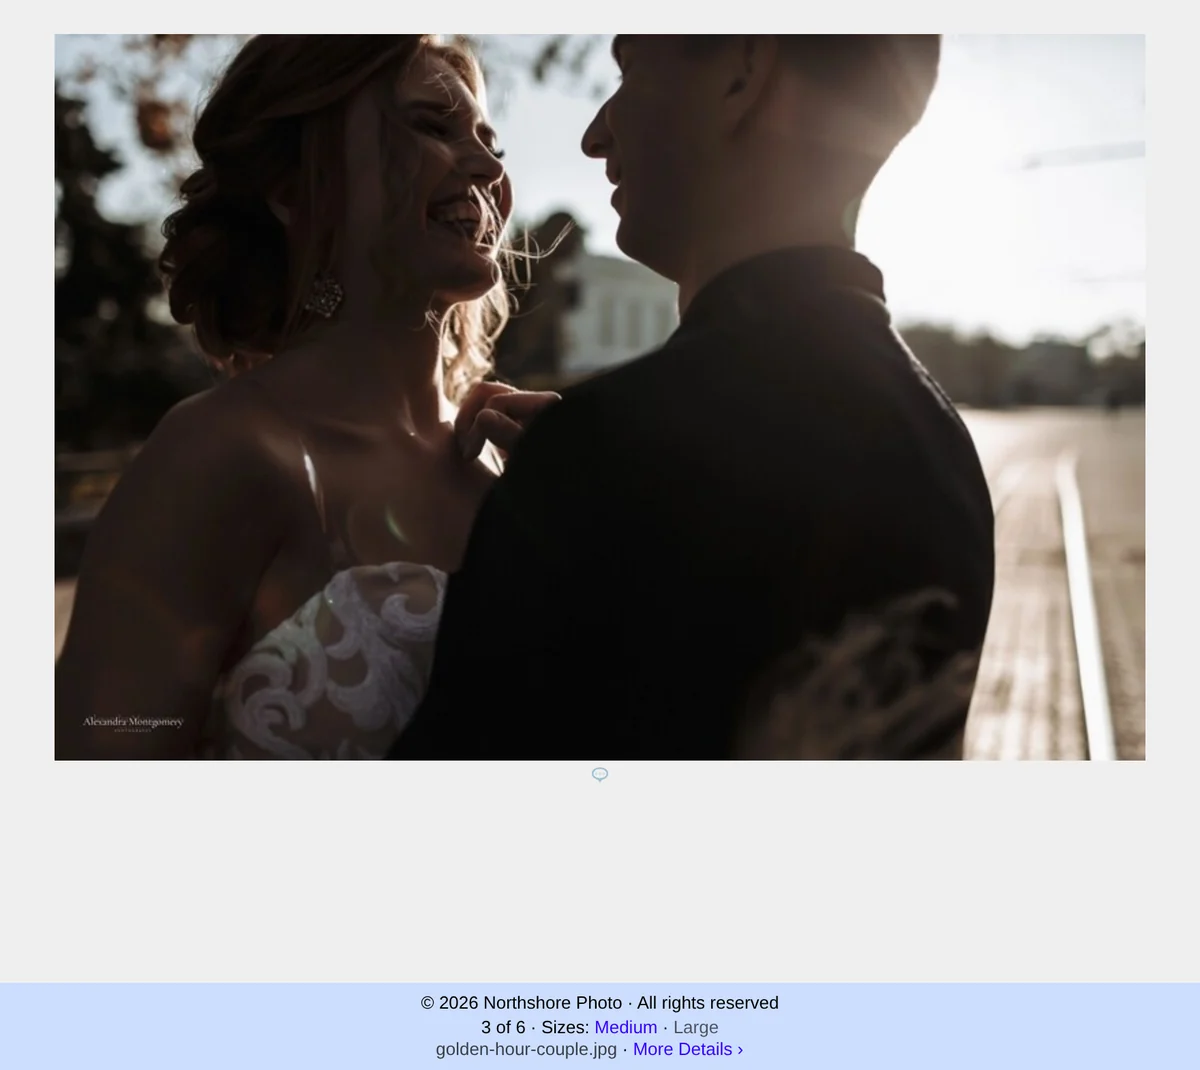

9. Preview, then applySee it first. Nothing changes until you apply.
- Click through your photos in the strip. Use Select all, Select none, or This photo only to choose which ones get marked.
- Click Apply your brand (or Apply proof marks) and confirm.
- Guests keep seeing today’s photos until each new one is ready.
- Settings alone don’t rebuild an album. Apply does. Rebuild photos runs it again.
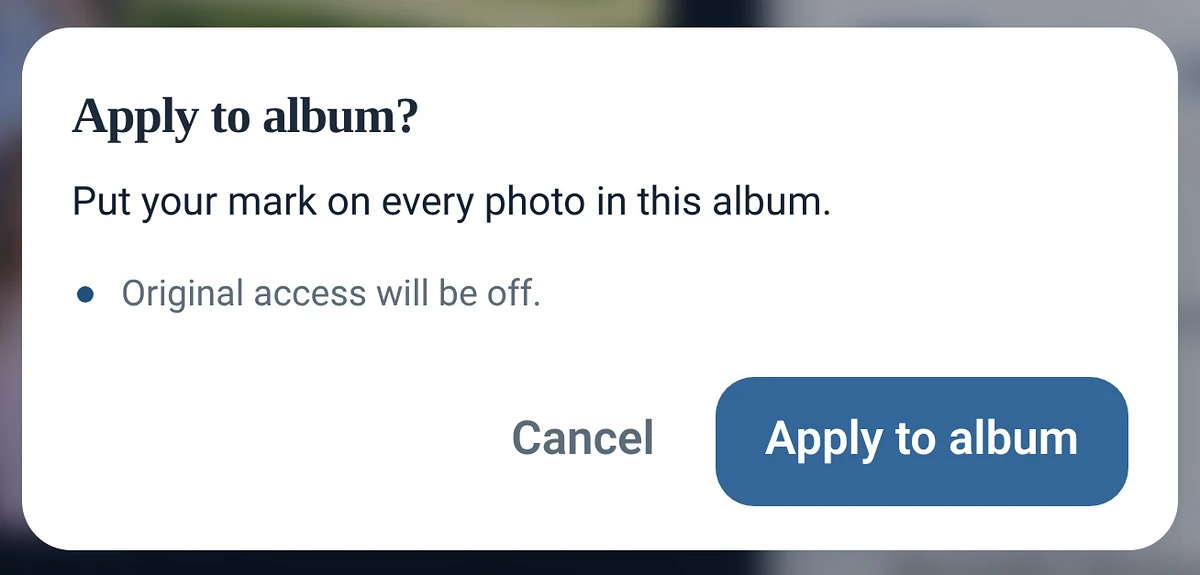

10. See what guests seeOpen the album the way a guest would.
- Open the album and click View as Guest.
- Open a photo. Your mark is on the sizes you chose.
- Your clean Original stays on your account.

A style for every shoot.
A few of the looks in the library, on real photos. Each one comes as a corner mark, a bar, or a badge.






Three ways to proof.
Pick the one that suits the gallery, then set the strength.
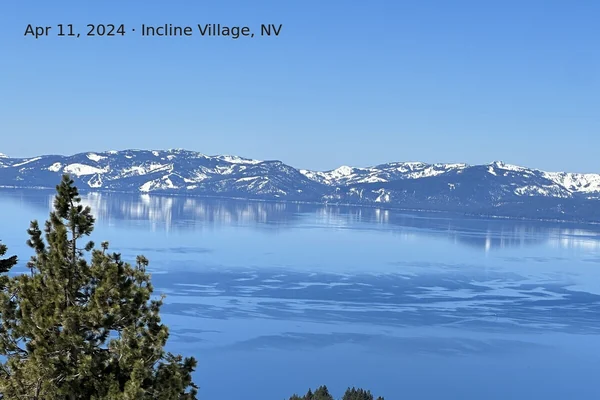
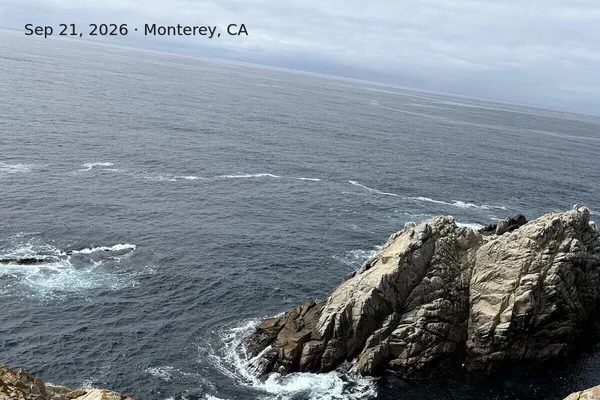
When and where, on every photo.
Turn on Camera and each photo shows the date it was taken and the city, read from its own camera info. It sits opposite your brand.
Made to look good on your photos.

Your name, your look.
Type your name or add your logo, then pick from more than 60 styles and eight colors.
Name and logo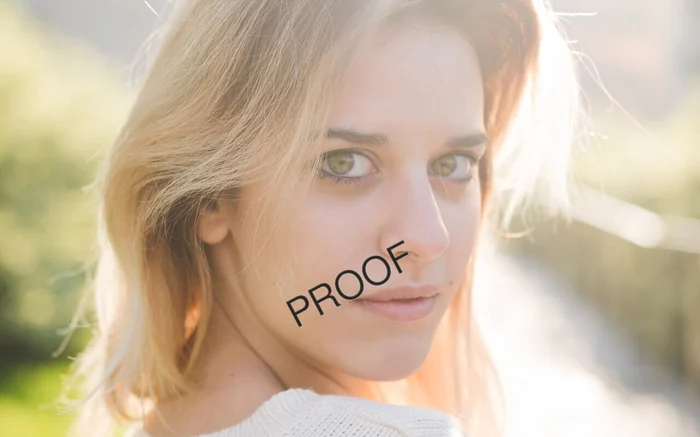
Proof it for client picks.
A clear PROOF while clients choose. Original stays off until you say so.
Proof it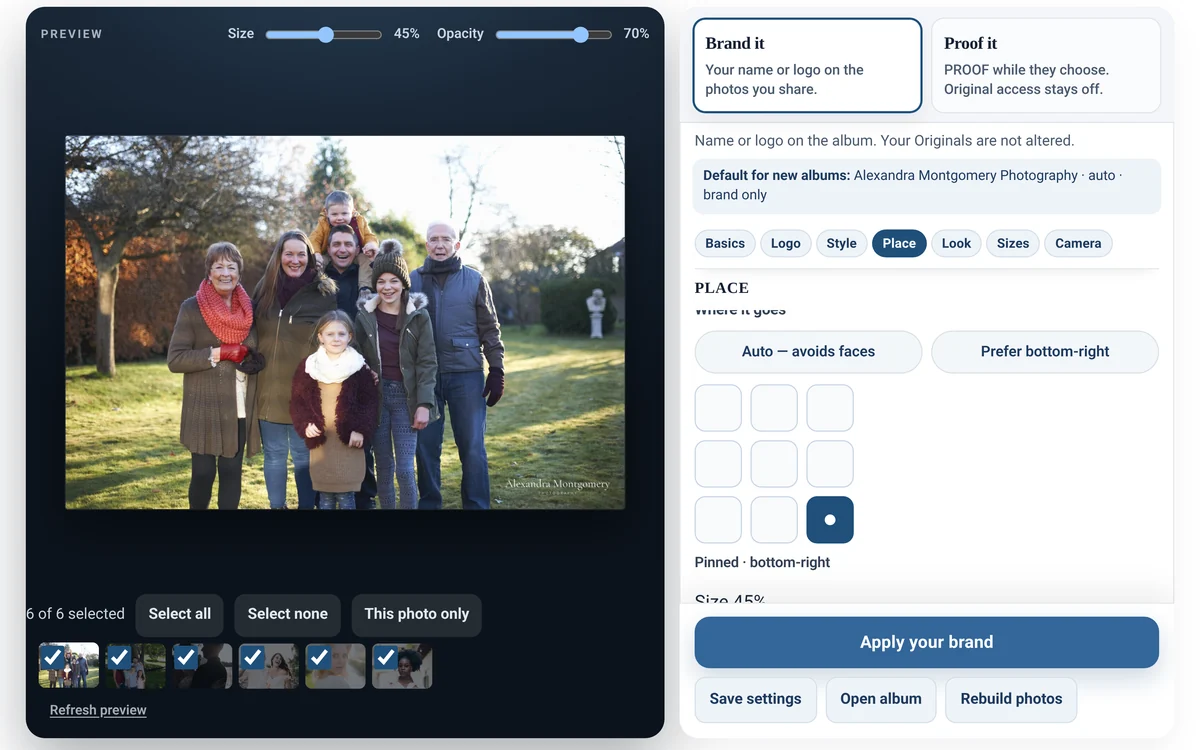
Auto avoids faces.
Your mark goes where faces aren’t, photo by photo.
Auto placement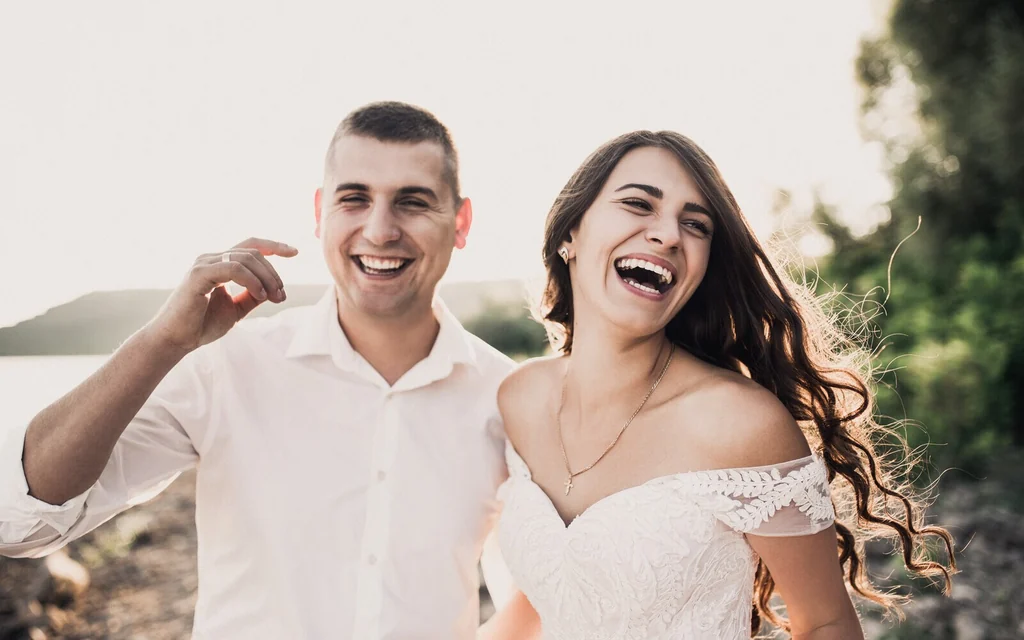
Originals stay clean.
Guests see marked sizes. Your Originals stay clean on your account.
What you keepWhat your guests see.
Your mark on every size you choose, from Small up to XX-Large. Your clean Originals stay with you.

All the options.
Every setting, with step-by-step how-tos.
Proof itPROOF while clients choose.
- Open the studio and choose Proof it.
- Tick Turn on Proof. Keep the word PROOF, or type your own.
- Pick Diagonal, Center word, or Bottom band.
- Set the strength. About 20–30% is a light, clear proof.
- Click Apply proof marks.
- Proof marks can sit on faces on purpose, so a screenshot still looks like a proof.
- Original access stays off while Proof is on. Turn Proof off when the client has chosen.
- Want your name too? Tick Keep my brand under PROOF.
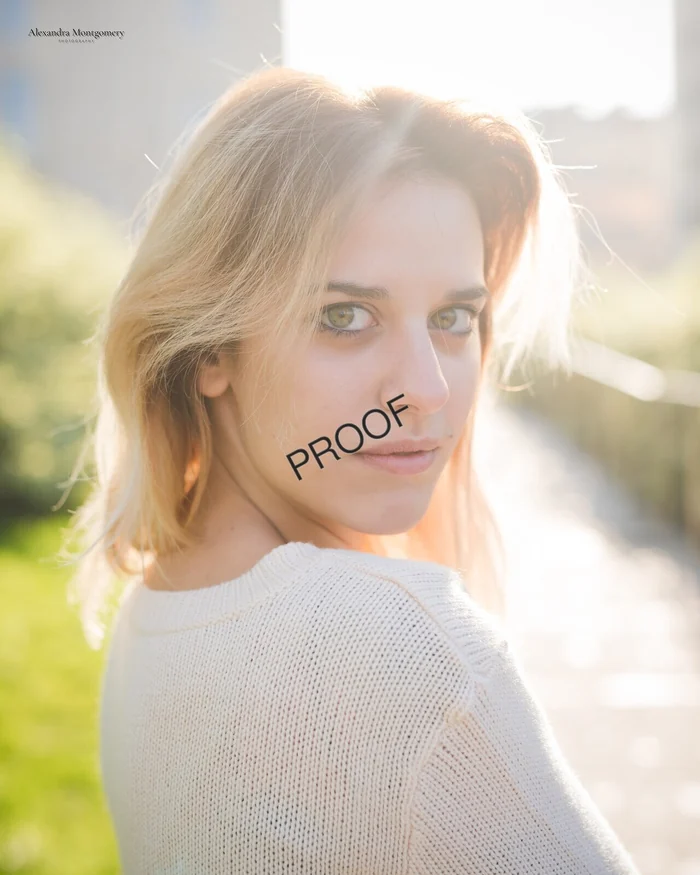
Auto face placementHow your mark stays out of the way.
With Auto — avoids faces, ImageEvent finds a calm spot on each photo and keeps your mark off the faces. With Prefer bottom-right, the mark stays bottom-right unless a face is in the way.
Face detection is used only to place your mark. We don't store face locations, templates, or biometrics.
- Pin a square at any time for a fixed spot (even on faces).
- The studio tells you when Auto moved your mark, and on how many photos.
What guests get, and what you keepMarked sizes for them, clean Originals for you.
- Guests
- The marked sizes you choose, from Small up to XX-Large, and thumbnails if you like.
- Original
- Off for guests when you tick Don’t offer Original Image access, and always while Proof is on.
- Video, GIF, documents
- Stay exactly as you uploaded them.
- You
- Clean Originals for Archive and Download your files, and owner downloads while you’re signed in.
Date, place, and copyrightOptional extras.
- Under Camera, add the date taken and the city from the photo’s camera info. Raw coordinates are never shown.
Recipes, defaults, and many albumsSet it up once, use it everywhere.
- Under More, save up to six recipes, like “Wedding delivery” or “Client proofs”, and load one on any album.
- Save as my default for every new album. Tick Include Proof in my default if you like.
- Copy the settings from another album, or use Apply my default to many albums… for up to 25 albums at a time.

Who gets WatermarksIncluded with Premium and Power Premium.
Watermarks are part of Premium and Power Premium. Basic and Trial accounts don’t include them. Compare plans.
What a watermark can doAn honest note.
A watermark helps discourage casual copying, and it makes a proof look like a proof. It can’t stop a determined screenshot. Your Originals stay clean and safe on your account.
Questions? See Watermarks in Support.