
Want your name on the photos people see, or a clear PROOF across a gallery while a client picks favorites? Watermarks does both. Pick a look, preview it on your own photos, then apply it to the sizes you choose. Your Originals are not altered.
At a glance:
- Open Watermarks from Tools, from an album’s bar, or from Edit Album.
- Choose Brand it (your name or logo) or Proof it (PROOF while clients choose).
- Pick from more than 60 styles, then fine-tune the color, opacity, and shadow.
- Auto — avoids faces keeps your brand mark off the faces in each photo.
- Add the date and city from your camera, choose which sizes get the mark, then Apply.
- Included with Premium and Power Premium.
 Your logo, set softly in the sky and clear of every face.
What Watermarks does
A watermark is a mark on the picture sizes people browse. With Brand it it is your name or logo, so a shared gallery carries your name wherever it goes. With Proof it it is the word PROOF (or your own word) across the photo, so a client can choose favorites without taking an unmarked Original.
Marks go on the sizes you choose, from Small up to XX-Large. Video, GIF, and documents stay as you uploaded them. A watermark helps discourage casual copying.
Who gets Watermarks
Watermarks are included with Premium and Power Premium. Basic and Trial accounts don’t include them. See Account, billing & membership for plans.
1. Open Watermarks
- Click Tools in My Home, then open the Watermarks card.
- Or open an album and click Watermarks on the Album Bar, or the Watermarks link in Edit Album.
- Pick the album you want to work on. You can switch albums any time with Change.
2. Choose Brand it or Proof it
- Brand it is for galleries you’re delivering. Your name or logo goes on the sizes you choose.
- Proof it is for client selects. It puts PROOF on every size while they choose, and Original access stays off. Turn Proof off when they’re done.
- The big preview updates as you go, on your own photos. Click any photo in the strip to check it.
 Brand it: your name or logo, previewed live.
 Proof it: one clear PROOF across the photo.
3. Add your name or logo
- Under Basics, type your name or studio.
- To use a logo, open Logo, choose a PNG or SVG (under 2 MB), and click Upload. A clear background works best.
- Choose Logo + name, Logo only, or Name only.
 Add a logo, then choose how it shows.
 Up close: small, clean, and easy to read.
4. Pick a style
- Open Style. Every tile shows your name in that look.
- Filter by Modern, Editorial, Script, Serif, Block, or Seal. Open More styles for Capsule, Mono, Plate, Line, Stack, Ribbon, Outline, and Footer.
- Most styles come as a corner mark, a bar, or a badge. Click the selected tile again to go back to plain text.
 The Style library, with a monogram badge picked.
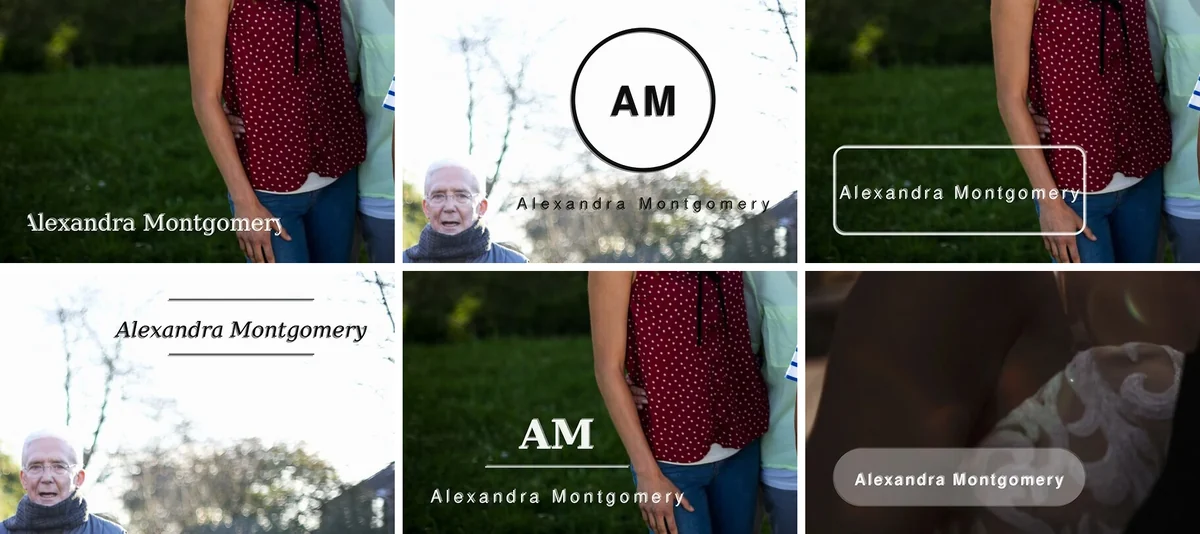 A few of the looks: Serif, Mono, Modern, Editorial, Stack, and Capsule.
5. Auto placement and faces
Under Place, Auto — avoids faces picks a calm spot on each photo and keeps your brand mark off the faces. Prefer bottom-right keeps the mark bottom-right on every photo, and only moves when a face is in the way. Pin one of nine squares for a fixed spot. When Auto moves your mark, the studio tells you. Set the Size here too. Logos often look best around 12–20%.
Face detection is used only to place your mark. We don't store face locations, templates, or biometrics.
Proof marks are different on purpose. They may sit on faces so a screenshot still looks like a proof.
 Place: Auto, Prefer bottom-right, or pin a spot.
 Up close: on the grass, clear of every face.
6. Fine-tune the look
- Open Look.
- Set the Opacity, and the Edge inset to move the mark in from the edge.
- Add a Soft shadow or Outline to help on busy photos.
- Pick a Color: Auto, white, black, navy, gold, crimson, forest, or slate. Color tints your name and styles. Your logo keeps its own colors.
- Repeat across the photo tiles your mark over the whole picture.
 Look: opacity, shadow, and eight colors.
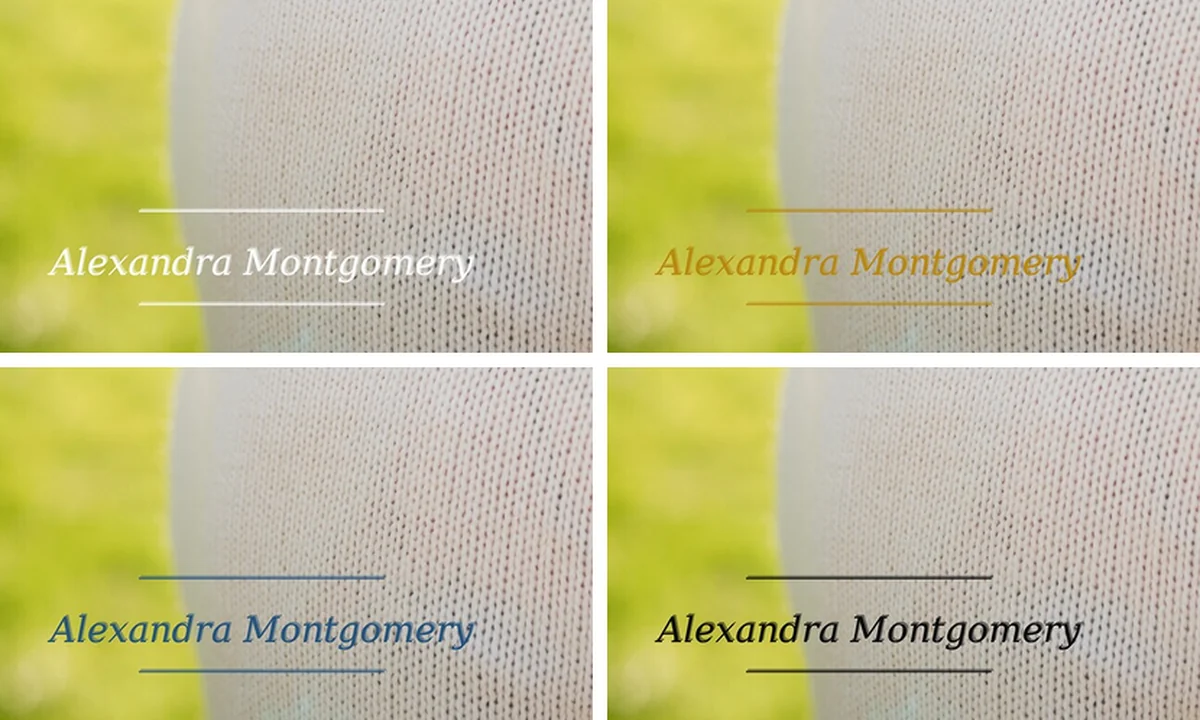 The same mark in white, gold, navy, and black.
7. Add the date and place
- Open Camera.
- Tick Show date taken, and Show location (city) if you like.
- Set the size. Auto — opposite your brand keeps it out of your mark’s way, or pin a corner.
 Camera: date and city, straight from the photo.
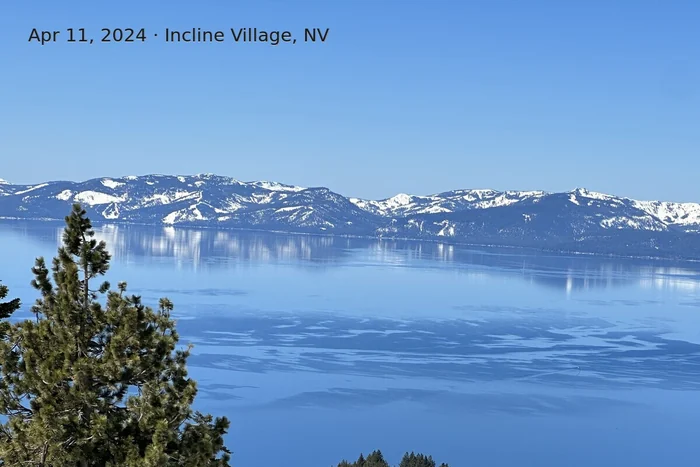 Up close: one quiet line in the corner.
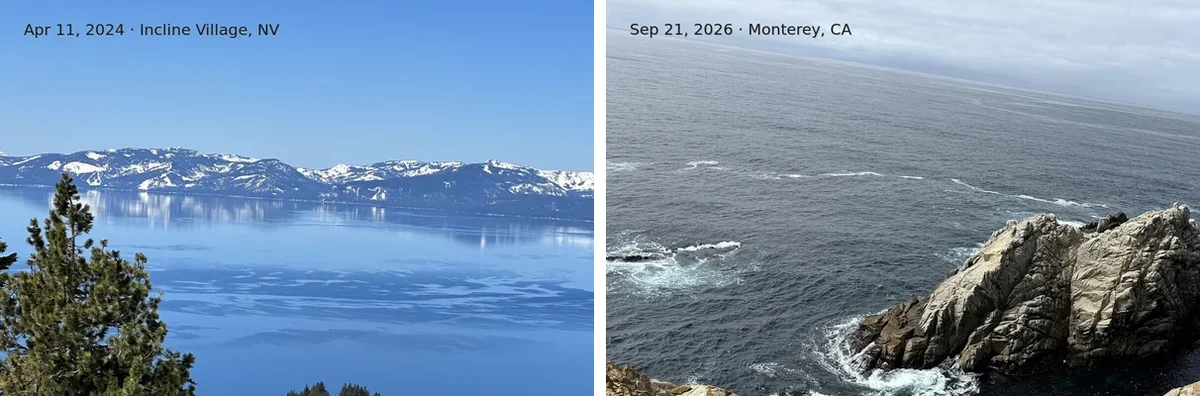 Every photo gets its own date and city.
8. Sizes & Original access
Open Sizes to choose which sizes get the mark: Small, Medium, Large, X-Large, and XX-Large, and thumbnails if you like. Tick Don’t offer Original Image access when you want people to see only the marked sizes. Marked sizes still show. Your Originals are not altered.
With Proof it, Original access stays off until you turn Proof off.
To check the result, open the album with View as Guest, then open a photo. Use Download your files when you need your unmarked Originals.
 Sizes: every size, your call.
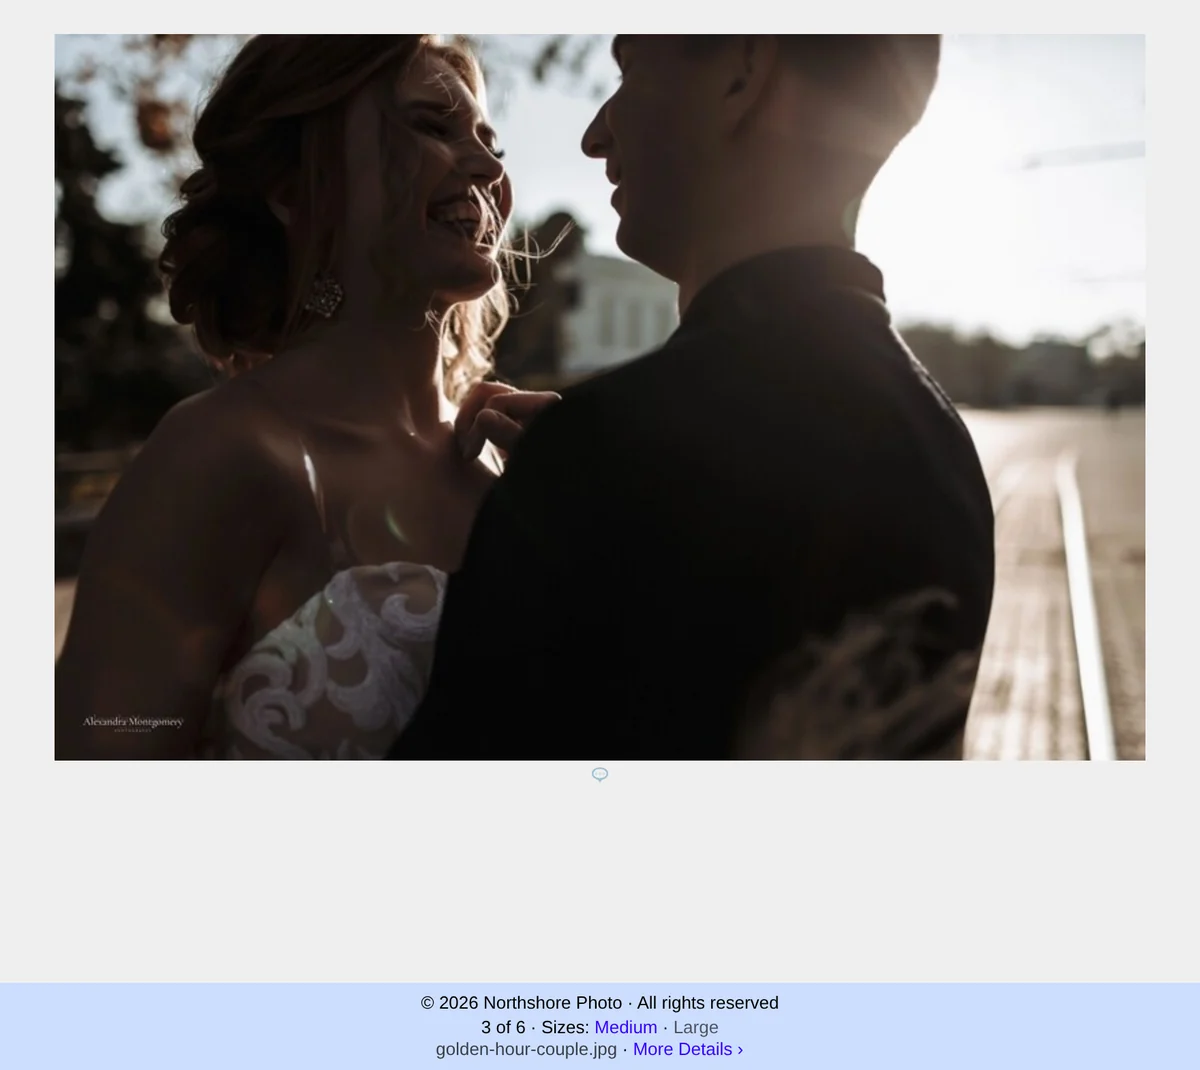 Guests see only the sizes you offer.
 What guests see: your mark, clear of the faces.
9. Preview, then apply
- Click through your photos in the strip. Use Select all, Select none, or This photo only to choose which ones get marked.
- Click Apply your brand (or Apply proof marks) and confirm.
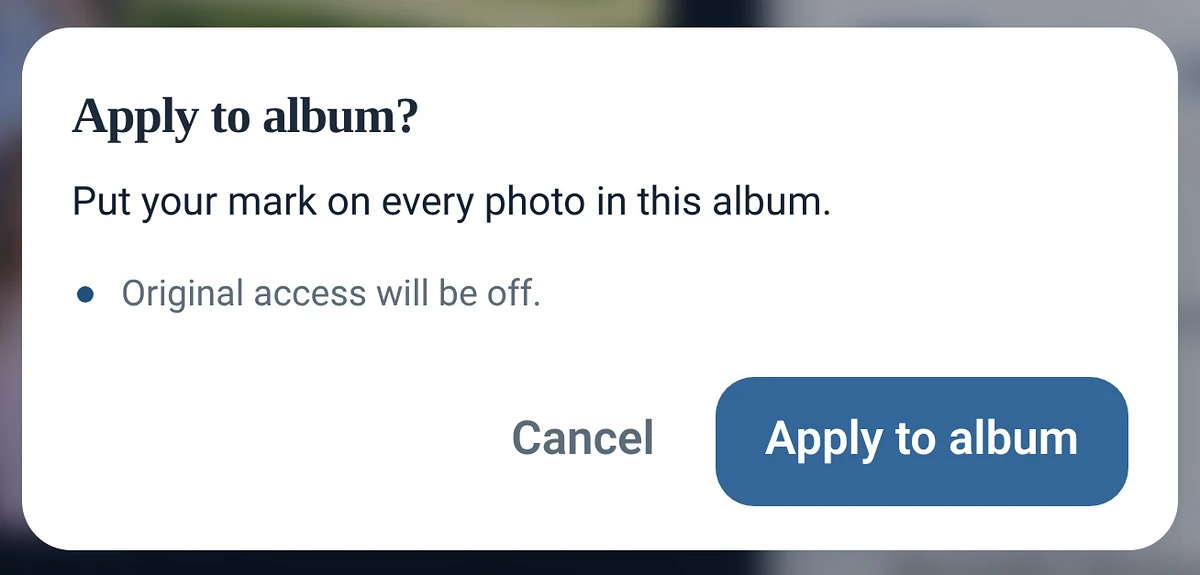 One confirmation, then it goes to work.
 Moments later, the whole album is marked.
Proof it, step by step
- Open Watermarks and choose Proof it.
- Tick Turn on Proof. Keep the word PROOF, or type your own.
- Pick Diagonal, Center word, or Bottom band.
- Set the strength. About 20–30% is a light, clear proof.
- Click Apply proof marks.
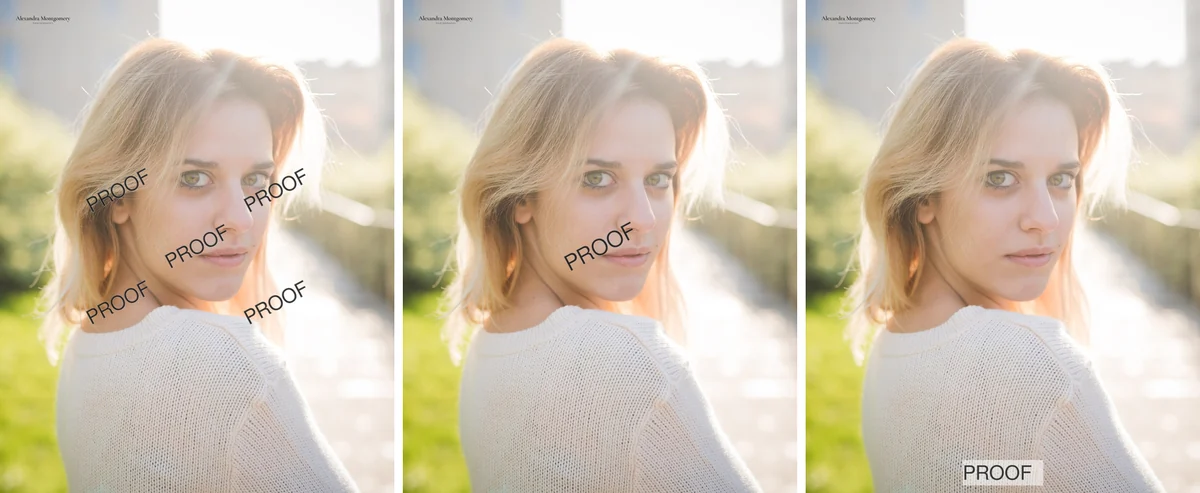 Diagonal, Center word, and Bottom band.
Defaults, recipes & many albums
- Under More, save up to six recipes, like “Wedding delivery” or “Client proofs”, and load one on any album.
- Tick For every new album to save your look as your default. Tick Include Proof in my default if you like.
- Copy the settings from another album, or use Apply my default to many albums… for up to 25 albums at a time.
 More: your default and saved recipes.
My Original Image link won’t open
That album has Original Image access off (or Proof is on), so the public Original link won’t open. That’s on purpose.
- Marked size links such as Medium or Large still work.
- You can download Originals while you’re signed in, or use Download your files for a complete set.
- Want the public Original link back? Turn Original Image back on in Edit Album (turn Proof off first if it’s locking access off).
My Download your files links won’t open
Old link lists from Download your files need a fresh download. Photo links from an older list may stop working after you refresh.
- Sign in and open Download your files.
- If a download is already ready, click Fresh my download.
- Download the new zip and use the new links.txt or Start script.
Watermarks FAQ
- Why don’t I see Watermarks? Watermarks are included with Premium and Power Premium. Basic and Trial accounts don’t include them.
- Does it change my Originals? No. Your Originals are not altered.
- Can people still download an unmarked Original? Not when Don’t offer Original Image access is on, or while Proof is on. They get the marked sizes.
- Does it work on video? Video, GIF, and documents stay as uploaded.
- Does it store anything about faces? Face detection is used only to place your mark. We don't store face locations, templates, or biometrics.
- How do I take marks off? Open Watermarks, turn off what you don’t want (Show brand mark, or Turn Proof off), then click Update your brand or Update proof marks.
- Can I add the date and place? Yes. Open Camera and tick Show date taken and Show location (city). It reads each photo’s camera info and shows a city name, never coordinates.
- Can I save more than one look? Yes. Save up to six recipes under More and load one on any album.
- Can I use one look on many albums? Yes. Save it as your default, then use Apply my default to many albums… for up to 25 albums at a time.