ImageEvent
 Absinth Angel | Home > The Costumes > Moulin Rouge > 
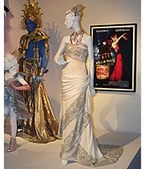
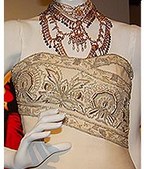
Hindi Wedding
Debuted for MoulinRouge Night at D*C 2005 this year.

- want to add smooth outer layer around the bodice, then add the side-tying chiffon overlay.  Then of course .. all that embroidery!!!  Also some adjustments to make to necklace.
.
Date(s): (wearable) 2nd September, 2005. Album by Absinth Angel. 1 - 24 of 60 Total. 848 Visits.
  Sign the Guestbook. Displaying 2 of 2 entries.
Not to deny your ability as a seamstress/dressmaker/costume recreator (forgive me, I don't know the proper "lingo" or terminology in this instance) but your skills as a jeweler and "milliner" are second to none!  That crown alone is one of the most astonishing MR recreations (if not the most) I have ever seen, and far, far more beautiful and authentic in appearance than anything that's being marketed on the 'net.  Bravo! (have you thought of attempting the "Come what May" rehearsal dress and crown?  You'd look smashing in that outfit, and I'd love to see you recreate that headress!  Just a thought.)
 - 
RedSatinDoll, Mon, 10 Apr 2006 3:10PM
That crown!!! Your attention to detail is BLINDING! The further into your site I go the lower my bottom jaw drops!!!
 - 
Catherine, Sun, 1 Jan 2006 6:44AM
Start SlideshowTo order prints and photo-products: 1. Select photos. 2. Click Order. 3. Select products.Next 24 | Show all 
Enlarge photo 1
1

Enlarge photo 2
2

Enlarge photo 3
3

Enlarge photo 4
4

Enlarge photo 5
5

Enlarge photo 6
6

Enlarge photo 7
7

Enlarge photo 8
8

Enlarge photo 9
9

Enlarge photo 10
10
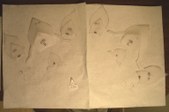
original on the left, mine on the right - took a whole 5mins each! (if only the rest could take that long!)

Enlarge photo 11
11

Enlarge photo 12
12

Enlarge photo 13
13

Enlarge photo 14
14
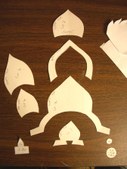
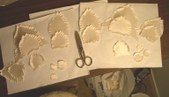
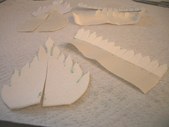
The templates ARE NOT symetrical and must be reversed to cut the lefthand and righthand sets respectively.

Enlarge photo 15
15
As for my Lake Dress accessories, I used milk bottle plastic as the base of everything.  I used a felt-pen/texta to mark (a MUST) L & R pieces individually.

Enlarge photo 16
16
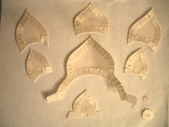
the plastic pieces glued to the back of the silk covering (same as used for dress).  Then the overlap 'feathered' ...

Enlarge photo 17
17
The feathered overlap-edge glued down.  Once dried I remarked everything as L & R respectively.
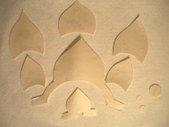
These are the Left side - you can more easily see now, looking at the smaller 'wings' how the pieces are not symetrical.


Enlarge photo 18
18
Viewing correct/outer facing side of covered pieces

Enlarge photo 19
19
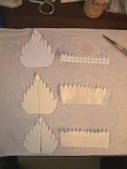
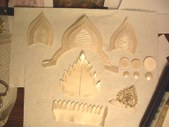
The flame edge for the top of the centre sections, and the sunburst edge that fan from the bottom arch of the assembled sides.

Enlarge photo 20
20
Cut stick-on felt shapes & place on back of silk. Note on the right, where only the 'leaf' section that will be visible is backed with felt

Enlarge photo 21
21
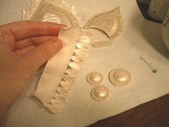
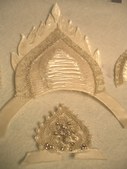
Top row - large & small wing centres glued into place, but first they were painted with pearlescent fabric paint.  As was the flame & sunburst sections, and the 3 button-like centres (made from pre-fab papermache putty)

Enlarge photo 22
22
- raised button centres glued onto the silk-covered circles.
- and the sunburst 'leaf' detail fully cutout now.


Enlarge photo 23
23
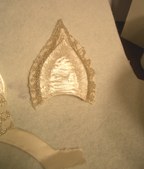
One of the 'flank' winglettes ... painted centre glued in place, and the first coat of glass micro-beads applied to the backing section.

Enlarge photo 24
24
Centre Wing - painted front centre glued in place and first applicatin of sand beads on.  Smaller centre-band detail completely decorated now.

 Continued ...
 Select All. 
Next 24 | Show all 
 
Album Properties. Email Album. Send Invitation. Share URL