
Overview of cage: 2 x 5 grid with an 1 x 5 grid upper level. The cage is divided in the middle: Hannah lives on the left side and Pixie lives on the right side.
| 
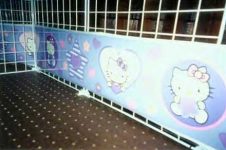
Close-up of Hello Kitty border.
|
View of part of upper level: pegboard used for floor (attached to cage grids with nylon cable ties).
| 
View of same upper-level area but covered with Contact Paper to make the floor waterproof.
|

Close-up of left-hand side: acrylic covers the border on the upper-level and clear Contact Paper covers the border on the lower-level.
| 
View of upper-level of right-hand side of cage (shows wooden stool used to access ramp to upper level).
|

Side view of right-hand side of cage (shows fiddlestick ramp to upper level).
| 
Top view of cage: shows top grids in open "trap doors" position.
|
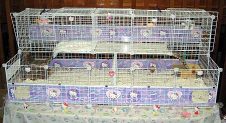
Front view of entire cage with access to upper levels.
| 
Close-up of right-hand side access to upper level of cage.
|

Front view of cage again with towels on both upper levels and an igloo added to the left section of the cage.
| 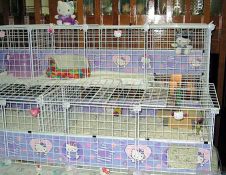
Another view of the right-hand side ... with cuddle-cup added to upper level. This photo shows more of the grid divider that divides the cage in half for the two guinea pigs.
|

Left-hand side of cage: shows the overlapped grids on the top front.
| 
Close-up photo of the access to the upper level.
|

Hannah
| 
Pixie
|
