• Public Gallery  • Help  
• Join Now!  • Log In  • Feature Tour
 Guinea Pig Fun | Home > Theme Cages > 
Pigopolis by Coolcavy
We built a huge cage ... It took more time collecing bits and pieces then building it. The idea on how came in a dream (as all my good ideas), because ordering C&C was hiddiously expensive, mostly in shipping it to our country.

The cage is 2m by 0.85 m.  I have a new pellet dispenser, which is easy to fill and clean.  We gave them some pine hidey’s, but they had to go, as they only used them for peeing. Hubby had the greatest idea to give them two plant houses in pine and plexiglas; they absolutely adore it! The top is ventilated because it stands a bit from the sides and they can pass through and through. They haven’t stopped playing in it, they love I and it was very cheap.

They do their business [urinate and defecate] on the towels. I pull off the top sheet (one big one covers it all), shake it out, and of it goes straight in the washer. I gather the towels, which are damp, but not wet, and they join the sheet in the washer. Boiling wash, tumbledryer and that's it. I can't use anything else as it's hiddiously expensive here!!! Even more to throw bedding away. Our country sells garbage bags with the city name on them. Those are the only ones being pickup up by the garbage men. Pricy!

Seeing the piggies popcorn of excitement was the best birthday gift ever from my hubby.   They still are popcorning ... can't believe how happy they are. I'm so pleased!


Date(s): December 9, 2004. Album by Kathy: themecages@aol.com. Photos by Coolcavy. 1 - 17 of 17 Total.
Start Slideshow 
Enlarge photo 1
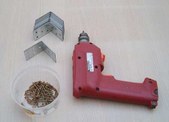
What I used: a drill that can also screw on batteries, metal corner reinforcers, wood screws.

Enlarge photo 2
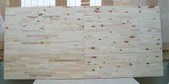
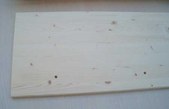
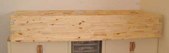
I had the wooden boards cut into the size I wanted in the store. They do that for free.

Enlarge photo 3
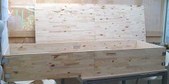
We drilled holes in the side boards, to attach the fences later on.

Enlarge photo 4
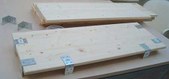
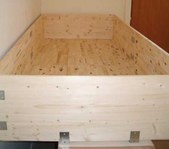
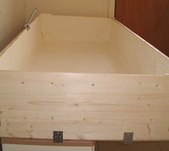
We connected the side boards with screws and metal corners to form the shape of a rectangle.

Enlarge photo 5

Enlarge photo 6
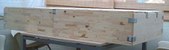
We screwed the bottom on and turned it over. We put the cage in place.

Enlarge photo 7

Enlarge photo 8

Enlarge photo 9

Enlarge photo 10
Then, I padded the “tub” with strong plastic that’s a bit stretchy. Here's a photo of it from a short distance.

Enlarge photo 11
Here's the close-up of the padding plastic.

Enlarge photo 12
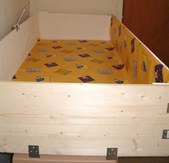
On top of that, I had an extra layer of plastic (a table cover).

Enlarge photo 13
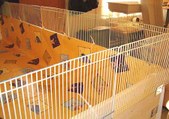
We attached the fence (piggie playpen fence) with plastic pull together strips. We cut the strip ends short.

Enlarge photo 14
I layed a layer of towels. I bought the biggest size bedsheets. One goes on top of the towels. They are weighed down with table cover weights.

Enlarge photo 15
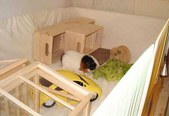
Exploring the new Pigopolis.

Enlarge photo 16
Time out for some veggies.

Enlarge photo 17
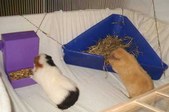
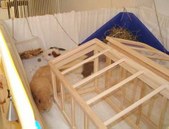
Pellet dispenser, which is easy to fill and clean, and litter box, which is used to hold hay.