Double-sided tape used to secure background to posterboard or corrugated plastic
| 
|
Glue stick or double-side tape may be used to secure background to posterboard
| 
Using a colored gluestick will allow you to see where the glue is (it dries clear); double-sided tape works best on corrugated plastic
|
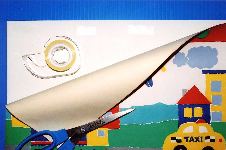
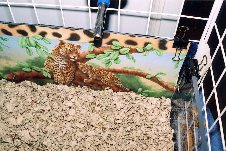
A piece of clear acrylic may be used to hold borders or backgrounds in place and protect them from being chewed
| 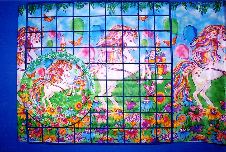
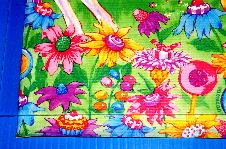
Corrugated plastic, blue grid, tablecloth background, and paper plate for either side of front of cage
|
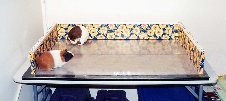
Base: wooden frame covered with adhesive-backed paper; acrylic window screwed to each side of front of frame; floor is a piece of vinyl
| 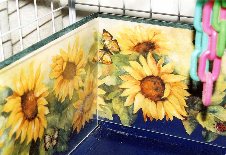
Wallpaper border protected with acrylic; may be attached to cage-grid panels with binder clips or wire (place through holes drilled in acrylic)
|
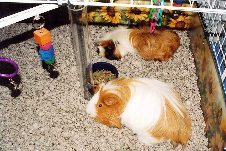
Another view of the sunflower-wallpaper border: covered with clear acrylic to protect it from being chewed
| 
Close-up of binder clips holding acrylic in place: side and front "window"; wall border
|
