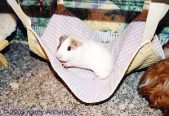
HAMMOCK: One of the 3 Little Pigs using the hammock as a trampoline rather than a hammock for sleeping.
| 
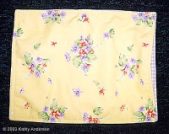
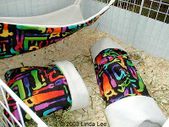
One 13-1/2" x 17-1/2" placemat made from sturdy, stiff fabric. Four Pieces of ribbon
about 20" long.
| 
Fold ribbon in half and sew to each of the four corners of the placemat.
|
Underneath side of ribbon stitched to a
corner of placemat.
| 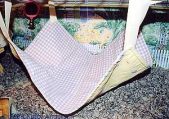
Attach the hammock to the cage top, adjusting height of placemat so that a guinea pig can comfortably enter the hammock without getting injured. Tie each ribbon to top of cage.
For a cage without a top, slip two wooden dowels through the cage-side grids and tie the ribbons to the dowels.
| 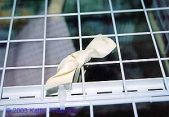
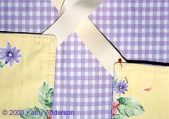
Top view of one of the four ribbons securing the hammock to the top of the cage. The ribbon was placed about nine grid-lines apart: placing them closer creates a deeper hammock and placing them wider creates a flater hammock.
If you do not have a cage top, see the text for the prior photo.
|
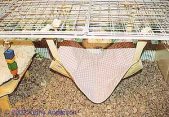
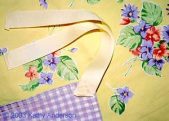
Overview of hammock that shows placement of ribbons (the top front grids are folded back on top of the actual row of grids where the hammock
is attached).
| 
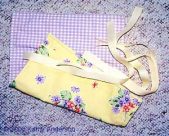
POUCH (Adult size): Place two placemats together and sew three sides, leaving one short end open.
| 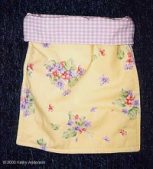
Fold down the open end about two to three inches (forms a cuff).
|
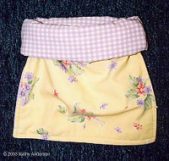
Fold down the "cuff" one more time. This creates a stiff cuff that keep the pouch open.
| 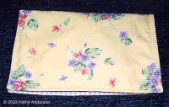
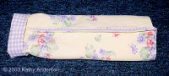
POUCH (Small pig or baby): Fold placemat in half and sew up each short side.
| 
May be used without a cuff ...
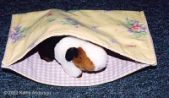
|
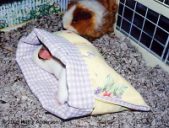
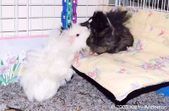
or turn back a cuff to help keep the pouch open. Pig in pouch is about 3 - 4 months old.
| 
TUNNEL (for baby): Fold placemat in half lengthwise and sew up only the long side. Fold one end back to create a cuff.
| 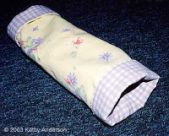
Fold back the other end to create another cuff.
|
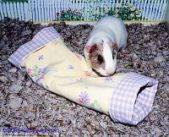
Pig in photo is about 3 - 4 months old. To make a TUNNEL FOR A LARGER PIG: add an insert (lenthwise) and sew each edge of the insert to each long edge of the placemat.
| 
Linda Lee's Hammock, Tunnel, and Pouch/Cozy: a variation of the items above.
| 
Futon cover created by sewing two modified (trimmed to fit a grid panel) place mats. Ribbons are sewn at the top of each side of the opening of the slipcover; attach by tying ribbons to grid panel.
|
