
Here is WalterP enjoying his grid tunnel!
| 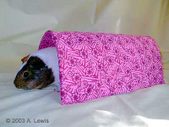
Dara exiting a tunnel featuring one of the new colorful print fabrics.
| 
Dara again .. this time in a tunnel covered with a darker print fabric.
|

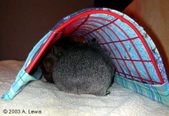
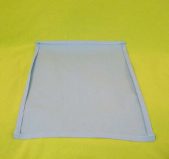
Pearly "modeling" her new tunnel cover which is made from a stretch fabric.
| 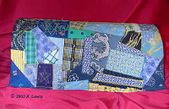
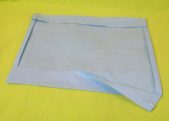
Crazy Quilted tunnel cover ... drapped over grid frame (prior to end pockets being sewn).
| 
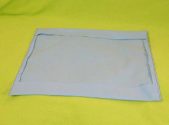
Cover made by Windespirit (slip in version with Velcro tabs)
|
Pearly and LittleRickie make sure the inside passes inspection.
| 
In order to bend a grid, first look for the grid's "joint-line." If you bend the grid the wrong direction, the grid will break along it's joint-line. The joint-line looks like an imperfection in the plastic coating; a line encircling one of the outer edges of the grid.
| 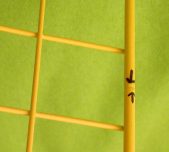
Close-up of the grid's joint-line.
|

While sitting down, place your feet on the side of the grid closest to your body. With your hands, hold the side farthest away from you. The side with the joint-line should either be in your hands or under your feet. While holding down the grid with your feet, pull the grid towards you with your hands. It should bend.
| 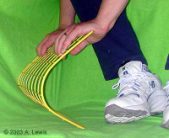
After the grid is a bit bent, you can remove your feet and press down toward the floor to bend it further. Bend it just a little at a time and keep checking to see if want to bend it more or stop.
| 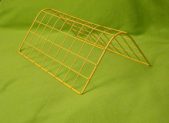
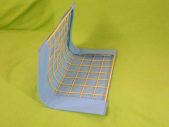
This is what the grid looks like after it has been bent.
|

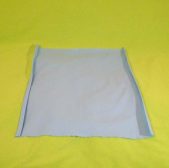
One 14-1/2" square grid (bent) and one piece of fabric 16-1/2" x 19-1/2".
| 
On each of the long sides, fold fabric over 1/2 inch and press with iron. Again, on each of the long sides, fold over another 1/2 inch and press.
| 
On each of the long sides, fold fabric over 1/2 inch and press with iron. Again, on each of the long sides, fold over another 1/2 inch and press.
|
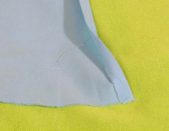
Now, on each of the short sides, fold fabric over 1/2 inch, press.
| 
On each short side, fold fabric over 2 inches. Press. You should now have a square approximately 14-1/2 inches by 14-1/2 inches.
| 
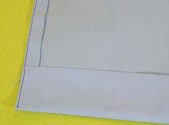
Sew a line very close to the edges with the 1/2-inch folds. You should now have two, 2-inch "pockets."
|
This is a close-up view of the sewn edges.
| 
Slip one of the 2-inch pockets over one of the bent sides of the grid. Then slip the other pocket over the other bent side.
| 
Now the tunnel is covered. Turn it upright (see first photo in album) and place it on the floor and watch the fun begin.
|
