 1 1
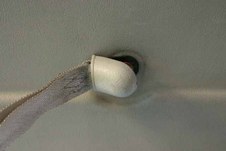
Ok, 1st thing to do is remove the single screw behind this door handle trim. Released by pushing forward and pulling away...
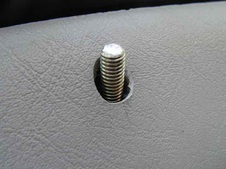
|  2 2
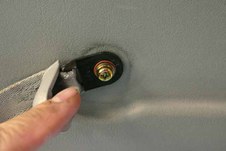
This is the screw. A simple X point screw.
|  3 3
I started at one corner and pulled the trim away. Here you see 1 popper stayed put and the other came out properly!
|
 4 4
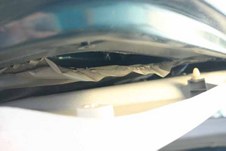
Worked my way along the bottom. Being very careful due to the dubious Mitsubishi plastic quality!!!
|  5 5
All removed. Now just the filthy black sticky stuff to deal with. Be very careful not to get any where you don't want it!!!
|  6 6
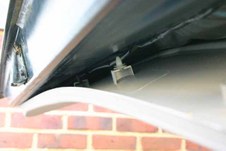
With the plastic removed we are able to see what's going on...
|
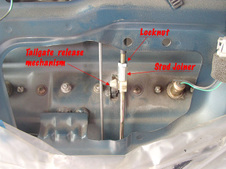
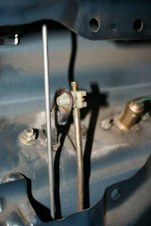 7 7
A close up of the door release mech.
| 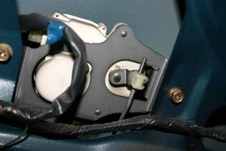 8 8
A close up of the electric door lock motor.
| 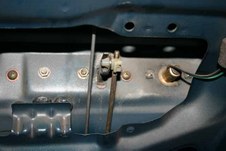 9 9
The door release again.
|
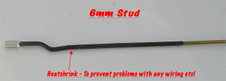 10 10
The rod I made. (But had to remove!!!)
|  11 11
Where I had fitted it!
|  12 12
I guess that hole is still there!!! I did fit a standard old release knob on this to make it look a little better...
|

