 enlarge 75KB, 640x538 enlarge 75KB, 640x538
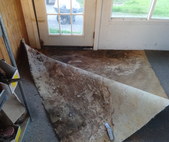
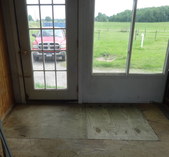
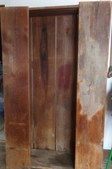
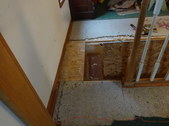
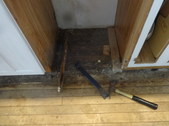
only house door I have. So porous that water and snow and ice poured in. Two large holes that I had to put metal sheets on floor saying: "Step Over", so people wouldn't fall in. I cut carped which was all moldy and dragged out bags of trash
|  enlarge 69KB, 640x541 enlarge 69KB, 640x541
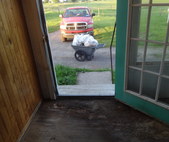
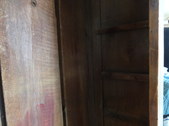
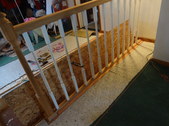
all cleaned up. This was on a Sunday in June, the next day the garbage went and Tues. JC and Spencer came and worked on the floor. This door will replace the same side door of the french doors that go into the kitchen from the porch (actually sunroom). At least the new one will have new jambs and new weatherstripping.
|  enlarge 72KB, 618x640 enlarge 72KB, 618x640
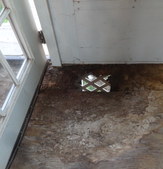
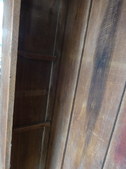
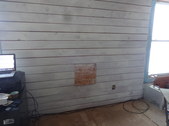
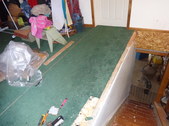
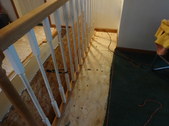
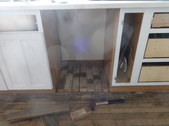
You can see where one of the holes was.
|  enlarge 81KB, 640x546 enlarge 81KB, 640x546
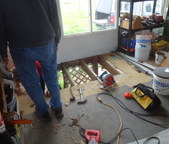
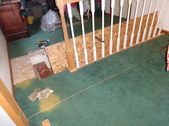
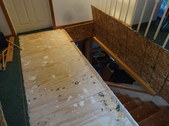
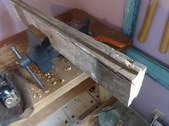
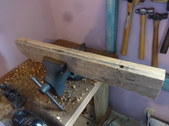
Spencer and JC reinforcing the joists to hold new treated plywood
|  enlarge 63KB, 640x597 enlarge 63KB, 640x597
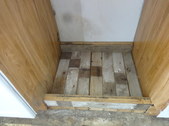
All finished and waiting for them to come back and put in the door.
|  enlarge 38KB, 640x480 enlarge 38KB, 640x480
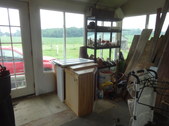
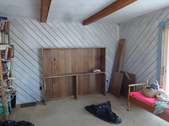
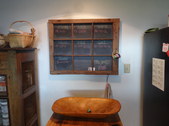
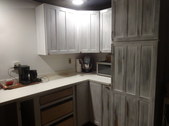
Took down three kitchen cabinets. Will paint and add floating shelves from Barnwood.
|  enlarge 57KB, 640x480 enlarge 57KB, 640x480
Old cabinets for JC's office.
|  enlarge 73KB, 640x571 enlarge 73KB, 640x571
|  enlarge 50KB, 720x364 enlarge 50KB, 720x364
|  enlarge 48KB, 426x640 enlarge 48KB, 426x640
|  enlarge 51KB, 480x640 enlarge 51KB, 480x640
|  enlarge 45KB, 640x480 enlarge 45KB, 640x480
|  enlarge 64KB, 640x480 enlarge 64KB, 640x480
When I moved the walnut desk from the other wall I took off the front side and it still fell on me when I moved it. LOL
|  enlarge 41KB, 640x480 enlarge 41KB, 640x480
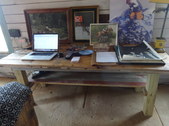
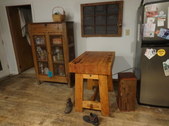
moving my first farm table to here
|  enlarge 65KB, 640x480 enlarge 65KB, 640x480
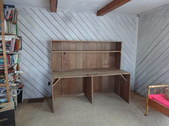
walnut desk all assembled. Now to move the printer and set that up.
|  enlarge 66KB, 640x480 enlarge 66KB, 640x480
still have to put these photos on the wall
|  enlarge 49KB, 460x640 enlarge 49KB, 460x640
|  enlarge 48KB, 640x480 enlarge 48KB, 640x480
schedule board in kitchen
|  enlarge 73KB, 580x640 enlarge 73KB, 580x640
horsey board-oops mom did I stop too fast? and the tear drop board to the right
|  enlarge 72KB, 559x640 enlarge 72KB, 559x640
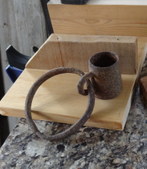
harness ring I got from the barn the other day when getting boards for the upstairs
|  enlarge 54KB, 640x452 enlarge 54KB, 640x452
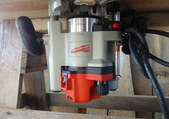
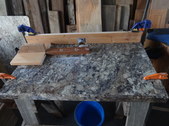
router under table
|  enlarge 77KB, 640x480 enlarge 77KB, 640x480
|  enlarge 73KB, 640x480 enlarge 73KB, 640x480
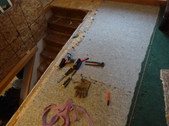
carpet that has been removed as well as railing
|  enlarge 86KB, 585x640 enlarge 86KB, 585x640
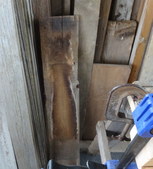
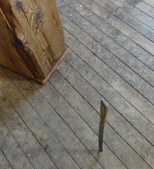
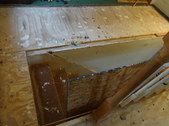
bread knife
|  enlarge 80KB, 640x480 enlarge 80KB, 640x480
getting ready to cut out carpet to add wood
|  enlarge 52KB, 640x480 enlarge 52KB, 640x480
|  enlarge 73KB, 640x480 enlarge 73KB, 640x480
|  enlarge 71KB, 640x480 enlarge 71KB, 640x480
|  enlarge 64KB, 640x480 enlarge 64KB, 640x480
|  enlarge 54KB, 640x480 enlarge 54KB, 640x480
|  enlarge 54KB, 640x480 enlarge 54KB, 640x480
|  enlarge 61KB, 640x480 enlarge 61KB, 640x480
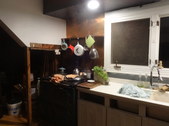
This was the kitchen around June 2016
|  enlarge 54KB, 640x480 enlarge 54KB, 640x480
|  enlarge 39KB, 640x480 enlarge 39KB, 640x480
|  enlarge 46KB, 640x480 enlarge 46KB, 640x480
|  enlarge 51KB, 640x480 enlarge 51KB, 640x480
|  enlarge 43KB, 640x480 enlarge 43KB, 640x480
|  enlarge 62KB, 640x480 enlarge 62KB, 640x480
|  enlarge 57KB, 640x480 enlarge 57KB, 640x480
|  enlarge 51KB, 640x480 enlarge 51KB, 640x480
|
|
|
