1
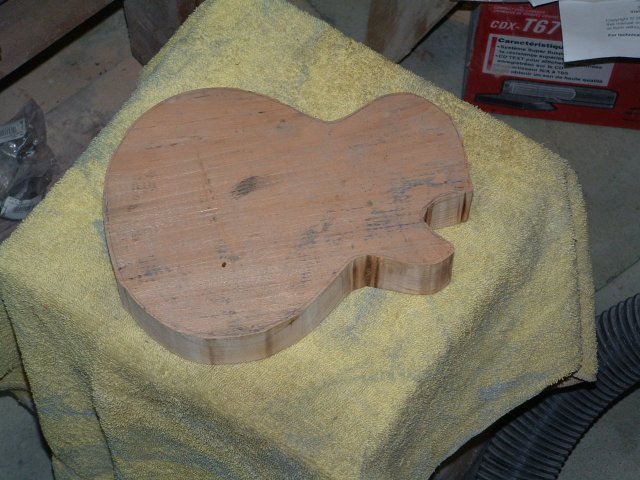
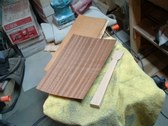
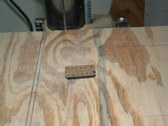
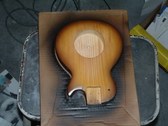
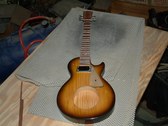
When I moved into my apartment, there were some pieces of lumber lying around. I pretty much ignored them until one day I was looking for some scrap wood, and noticed that it was a pretty straight piece with nice grain. Approximately seven inches wide, I downloaded a picture of a Les Paul guitar, and enlarged it to a size just smaller than the piece of wood. Using that as my outline, I cut out the shape with a sabre saw.
| 
2
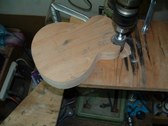
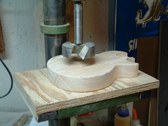
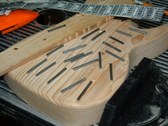
Now I begin the tedious sanding process. I put a sanding drum in my drill press, and use that to do some of the tiny details.
| 
3
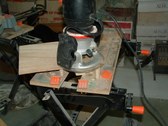
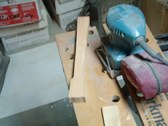
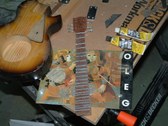
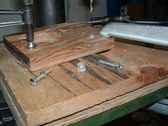
I made a jig for the cut-out of the neck, and use my router to carve the insert.
| 
4
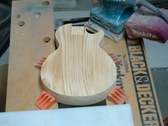
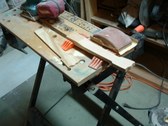
Now I sand the surface, giving it the curve of the famous electric guitar.
|
5
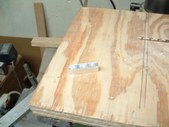
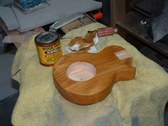
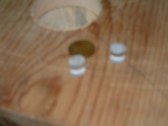
I drill out the hole for a clock face, using a forstner bit.
| 
6
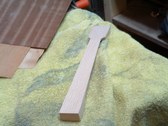
Next I cut out the neck and sand that as well.This is a piece of oak left over from another project.
| 
7
Since this involves compound curves, I take my time. Any mistakes and I'll be starting from scratch.
| 
8
I've roughed out the back, now I fine tune the head-stock.
|
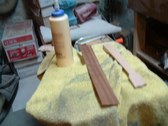
9
I'll use a strip of veneer to do the fretboard.
| 
10
I cut out some 1/8 inch strips of round stock as the frets. Now I have to file them down individually to fit each fret. I cut the slots with a router bit in a Dremel tool, the frets will be filed to fit the slots.
| 
11
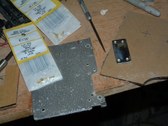
While doing my metal work, I cut out a piece of aluminum as the pick-up. I drill some tiny holes to fasten it to the body.
| 
12
Here you can see the rough piece and the one that has been sanded, and polished.
|
13
I use some thicker aluminum to make the machine heads.
| 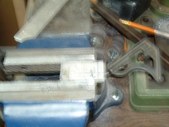
14
The picture is a little blurry, but this is a chunk of aluminum that I'll cut the machine heads from.
| 
15
A piece of acrylic plastic will be the pick-up. To make the magnetic pieces that pick-up the signal, I'll drive some brads into it, and then polish the piece so they shine.
| 
16
Here's the veneer, trimmed and ready to laminate.
|
17
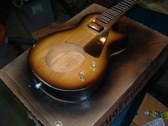
After a couple of coats of sanding sealer, I stain the body.
| 
18
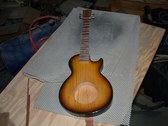
I use my airbrush to spray some dark brown around the edges. I also spray some yellow on the inner edges, giving it the sunburst effect.
| 
19
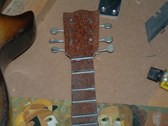
Here's the neck, laminated and having the frets glued in.
| 
20
Here's a close up of the tuning pegs, also made of aluminum stock. The tuning keys are eye-hooks with the centers filled with epoxy, and sprayed silver.
|
21
Now I glue in the neck, and it's starting to look like the legendary guitar.
| 
22
I place the pick-up and then cut out a pick-guard and test fit that. The acrylic has paper covering, which I'll peel off when I'm almost finished. This keeps the piece from getting scratched up before I'm ready to glue it down.
| 
23
I bought some clear acrylic cylindrical stock to use as the knobs. As hard as I tried to keep them consistent, they need some fine tuning to make them match. I'll have to drill and tap them to thread onto some bolts.
| 
24
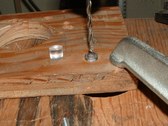
I made a jig to hold them while I drill the holes. The time it took to make the simple jig saved me a ton of fidgeting, trying to center the holes.
|
25
Now the bit is dead-on center.
| 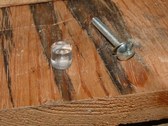
26
Here's the machine screw that will hold it to the body.
| 
27
After drilling all the holes, I give it several coats of clear, to lock in the color.
| 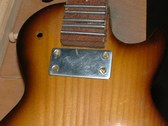
28
Now I'll mount the pick-up with some tiny screws.
|
29
The plastic piece will be epoxied to the aluminum plate.
| 
30
Here I've added the knobs, the strap mount and the pick-guard.
| 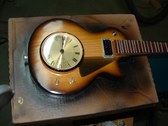
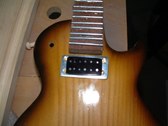
31
On the upper part, I've also added a small toggle switch. The clock face is put in, and it's looking pretty good.
| 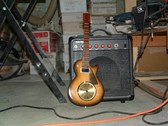
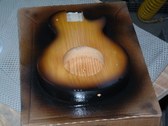
32
Here it is next to a small practice amp. The speaker in the amp is eight inches across, that should give you an idea of the true size.
|
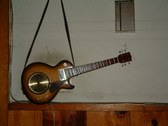
33
I got a leather strap from an old pair of binoculars and here it is hanging on the wall. The heat thermostat above and to the right, should give you some perspective of the size. I put it up for sale on eBay, and got no bids, so I ended up giving it away as a Christmas gift.
| |