1
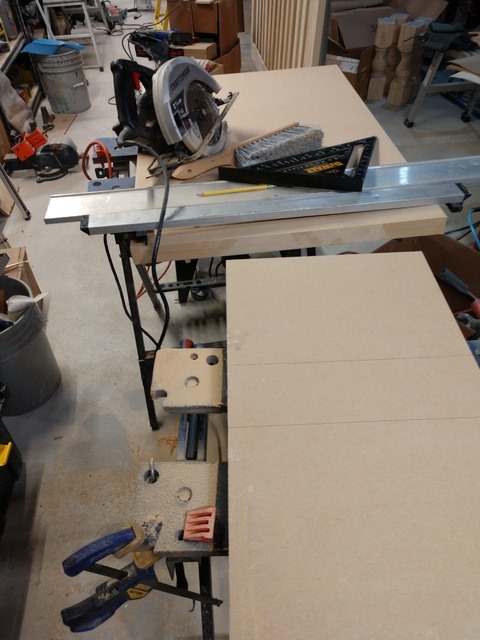
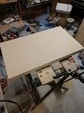
Home Depot sells precut pieces of plywood and Medium Density Fiberboard. I like using these because they're easier to transport, and cut once I get them home. I bought two three quarter inch thick pieces.
| 
2
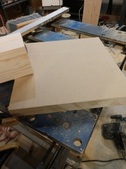
I cut them into squares two feet across.
| 
3
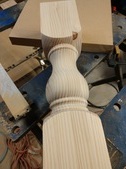
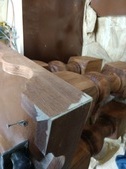
I had looked for some posts that were decorative, but none of the local Big Box home centers had anything I liked. I got these off Amazon.com. They were way too expensive, but my choices were limited.
| 
4
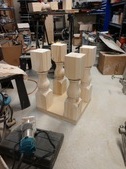
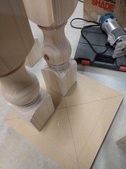
I set four of the eight posts on the square piece, but didn't like the way they looked on the edge, so I tried several different distances inset.
|
5
I have a pretty hefty pair of speakers. While I was living with my Dad, the stands I had made for them got ruined. So that's why I undertook this project.
| 
6
MDF takes paint well, but it's also easily dented and damaged, so some form of reinforcement will be necessary.
| 
7
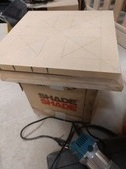
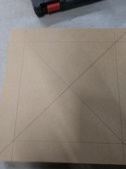
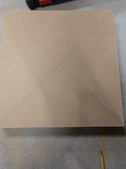
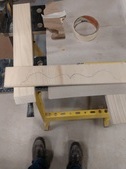
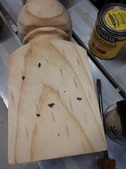
I drew diagonals from each corner to determine the center of each square.
| 
8
Then I set the posts in the spots I chose and made accommodations for the offset distance, then marked where the center of each post would be.
|
9
Using a straight edge, I marked the center of each piece. I'm not particularly good at math, so using geometry to figure out the proper placement is a roundabout process. I got a piece of scrap paper and cut it to the same size, then made a series of folds to mark borders and centers.
| 
10
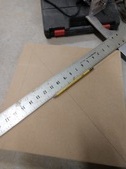
A straight edge makes it easier to get marks that are close to accurate.
| 
11
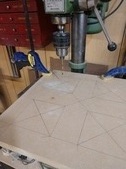
I then divided each one into quadrants. It's hard to see the pencil lines in these photos.
| 
12
After deciding on where I wanted to mount the posts, I sanded away the lines.
|
13
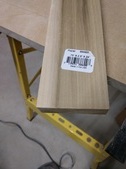
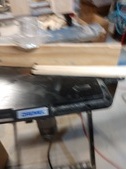
I intend to wrap the MDF with hardwood, since MDF is easily damaged. Home depot sells poplar strips already cut into manageable sizes, so I bought a bunch of them. The problem is, the price stickers are a pain to remove, and leave adhesive behind that is difficult to get off.
| 
14
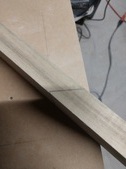
I marked my miter joints on each one, for cutting with my miter saw.
| 
15
I want these to look like Victorian Era furniture. I searched the internet for pictures, but found nothing suitable. I have a set of artist's scroll templates, so I set about sketching my own. It took several tries before I got something that I liked which also worked.
| 
16
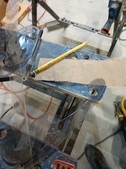
I cut eight mitered strips, to wrap the MDF surface.
|
17
I had drawn my scroll pattern on a piece of packing paper, folded in half. Once it was cut out, it should be symmetrical. Then I'll transfer it to a piece of plywood and cut it out as a guide for my router.
| 
18
Here I'm tracing my pattern onto the plywood.
| 
19
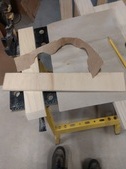
If you look closely, you can see the design I came up with. This is on a scrap of plywood. I'll cut this pattern out carefully and use it as the template for my router to follow.
| 
20
Minwax is a product I've had good results with in the past, so for a minimal investment, I don't have much to lose by trying it.
|
21
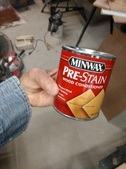
I've never used stain prep before, but it wasn't expensive, so I bought some and I'll coat the posts with it to see if it makes a significant difference.
| 
22
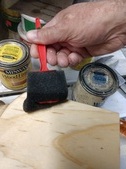
For stain, I like to use foam brushes. They're easy to clean, put down a smooth coat without leaving a lot of brush marks, they're inexpensive, and you can just throw them away when done. I got a big package of these at Harbor Freight Tools, so I'll give these a try as well.
| 
23
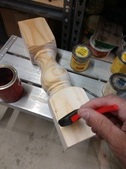
This isn't a piece of hardwood turned on a lathe. It's several planks laminated together, then turned. This leaves portions of knot holes in odd places that obviously don't occur on a natural piece of wood. Oh well, I'm not going to return them, so I just have to accept it.
| 
24
The handles are plastic, and the back and forth motion causes the center to wear away the foam, leaving little pieces stuck on the surface. These get a big Thumbs Down. now I have to pick all the little chunks off.
|