1
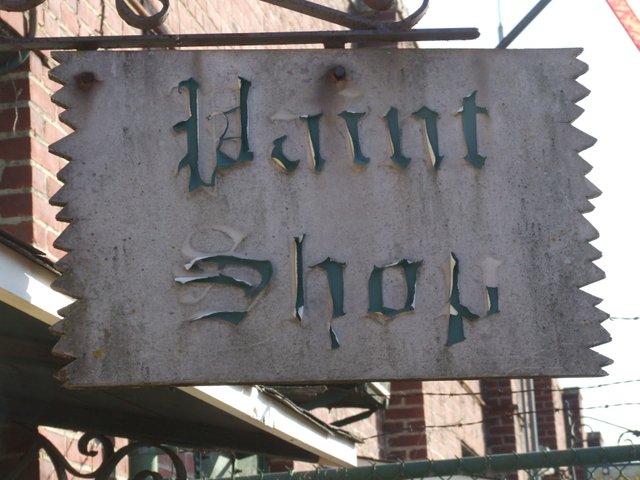
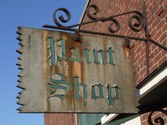
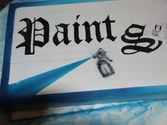
Since I started working with the "paint crew" I've been bugged by the pathetic condition of our sign. The carpenters shop next door has a nice computer generated sign, protected by plastic laminate.
These stick-on letters have seen better days!
| 
2
Here's the flip-side. It's equally distressed and needs some updating. I'll put my creative juices to work...
| 
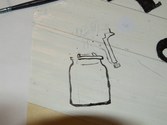
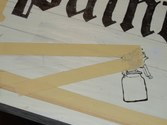
3
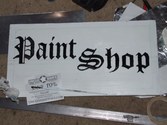
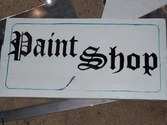
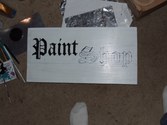
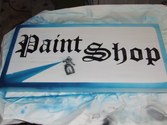
The old sign had stick-on letters. After years of exposure to the elements, they've faded, peeled and generally look like shit. I got a scrap of wood and designed my own marker. After laying it out, I used 1 Shot to paint it in.
| 
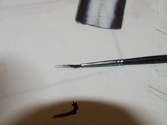
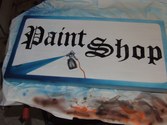
4
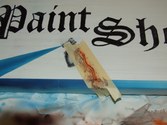
I drew a small brush painting the outline. You can see why I'm NOT a pinstriper! once this side dries, I'll paint a spray gun on the flip side.
|
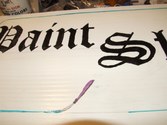
5
Here's a close up look. Not much of an artistic challenge here, but sometimes "Less Is More"!
| 
6
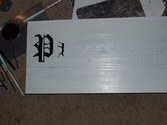
Working on the flip side, I begin filling in the letters. The light in the room where I'm doing this is absolutely terrible, so often I can't distinguish where the tip of the brush is in relation to the black outlines of the letters, and I'll often go over them, making uneven lines.
| 
7
I guess making these minor blunders are all a part of the learning process, so I stick with it. It's only paint and I can go over it with white once it dries, if it gets too bad.
| 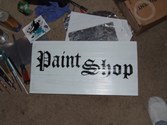
8
It's not as terrible as I thought, so I'll let this dry then do some work to make the border stand out.
|
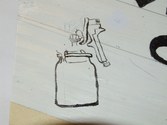
9
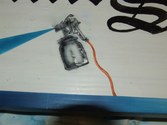
On the first side, I had a paintbrush striping the outline. On this side I decided that a spray gun would be fitting. I got a reference picture off the internet, and got out the smallest brush I own. It hasn't fared well and many of the bristles had fallen out, leaving it lopsided. I'm not confident that I'll be able to do a very precise job with this.
| 
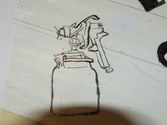
10
None the less, I gave it the ol' college try, with mixed results.
| 
11
Once I started, it was too late to go back, so I soldiered on...
| 
12
I don't know how pinstripers do such intricate work with those sword striping burshes. I didn't come close to the precision they do!
|
13
Next I laid out the area that will represent the paint spray pattern. I planned to airbrush this portion and do a gradual color fade. If I can get the airbrush working, I think I'll use that to detail the spray gun as well.
| 
14
A sharp razor blade makes cutting out the areas to be sprayed a simple task. I'll try and erase all the pencil lines before I lay down any paint. I don't want them to show through, and once there's paint over them, it's nearly impossible to camouflage.
| 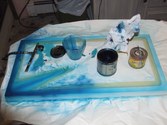
15
After taping down some paper mask, I get out the 1-Shot to try and spray a fade for the border. This paint is very thick and needs to be drasticly thinned in order to get it through an airbrush. Since my kitchen is not set up for airbrushing, this is going to cause me a lot of headaches. I started with teal blue and I want to gradually darken it to Prussian blue. I was going to start with magenta and then do a purple to blue transition, but since I don't even have an airbrush hanger set up, this would create more difficulties.
| 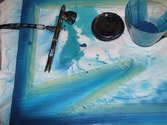
16
Pouring the paint from the mixing cup to the airbrush has already caused dribbles on the unmasked portion of the sign. For any aspiring artists, make sure you have a decent place to work! It'll help avoid a ton of aggravation.
|
17
After getting the border down, I peeled back the masking. It's not perfect, but that's more due to the working conditions rather than my ineptitude.
| 
18
Now I begin freehand filling in the details of the spray gun. Again, I couldn't film all of the steps because I cannot put down the airbrush until I finish using the paint in the color cup. Oy vey!
| 
19
Although the sign is up high, so nobody will really see the details, I tried to get it as tight as I could. I have other brands of airbrush paint that would allow me to get closer tolerances, but it isn't as weather resistant as the 1-Shot.
| 
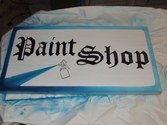
20
The "Three Foot Rule" comes into play here...it looks a whole lot better from three feet away than it does up close! I'll let it dry thoroughly and then give it several coats of polyurethane.
|

21
After a couple of hours,I decided to try some watrerborne paint. I masked off a line for a hose and got some Auto Air paint out of my stash.
| 
22
First I muted the flourescent orange I had with dark brown and sprayed the hose. I intended to use dark brown for the shadows and shading, but I was having a hard time getting it to spray just right.
| 
23
Figuring on the "Three Foot Rule", I peeled off the masking tape and took some of the grtay paint below with it. Looks as if I'll be doing some touch-up before I polyurethane the sign..
| 
24
I used one of my old favorites...Golden Shading Gray to retouch the paint gun. It covers well, flows beautifully through my airbrush and it's reputed to stand up well to UV exposure. i also retouched some of the overspray. Hopefully after a few hours drying time, I can get a coat of poly on it.
|