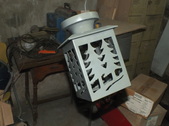
1
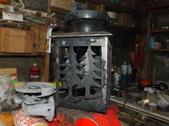
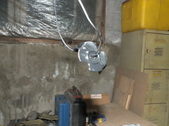
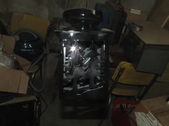
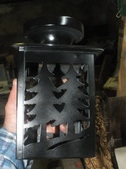
I found this old lamp out in our garage. It had some surface rust, but was in reasonably good shape. I think it'll make a nice addition to our outdoor illumination. First it needs a bit of revitalization.
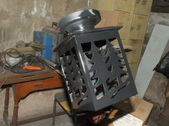
| 
2
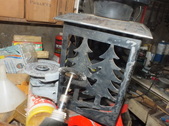
I used a Dremel tool to start whisking away the rust. The original paint was in pretty solid condition ,so I didn't go down to bare metal on the entire shell. There are glass panels that fit inside, which I removed prior to my fix-up attempt.
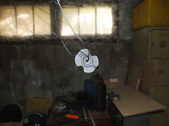
| 
3
In most spots, I could get the rust off without stripping the bulk of the psint. If I can keep it close to original, that's my goal.
| 
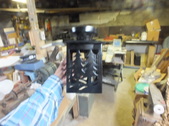
4
I gave it a thorough wiping down with prep solvent. This removes fingerprints and body oils that can spoil the paint job.
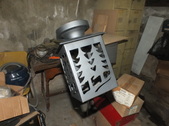
|
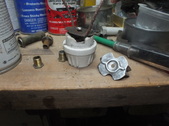
5
This is the light socket which I removed first of all. It's an outdoor design, so I don't think I need to upgrade the socket, but the wiring is rather dated, so I'm going to replace as much as I can. The metal clip that holds it in place also needs some TLC.
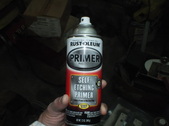
| 
6
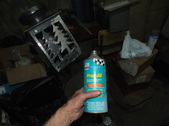
I used steel wool, to remove the rust, or as much as I could reach.
| 
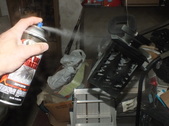
7
I tidied it up with my Dremel tool.
| 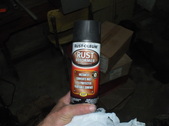
8
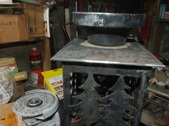
I'm giving this rust treatment a try. to see how well it works.
|
9
I hung the pieces to be sprayed, so I could get to all the areas with the spray can.
| 
10
It looks like black paint, but I'll see how it looks once dry.
| 
11
The pieces dried to a smooth, black coating.
| 
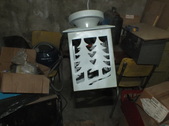
12
I cannot see the spots where the paint was sanded off, so I could just reassemble this as is, but I know from experience that this will not last long.
|
13
A series of light, mist coats of self-etching primer should prep the piece for the topcoat.
| 
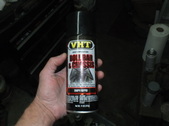
14
This is what I'm using. Aerosol cans can provide good results, as long as you follow the directions and use a bit of common sense.
| 
15
After the mist coat dries, I'll give it a heavier coat, but still avoid drenching it, which gives it runs.
| 
16
This paint is designed for use on the chassis and roll-bars, which see a lot of abuse. It's supposed to be heavy duty stuff, but I've had mixed results with it.
|
17
Once again, I'm giving it several mist coats, rather than drenching it, which causes all sorts of runs and build-up problems.
| 
18
This is simply for illustrative effect, Normally I wouldn't try taking a photo while doing this.
| 
19
I think this is turning out pretty well so far.
| 
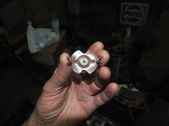
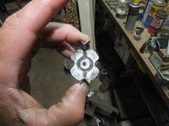
20
The metal piece that clamps the socket into position won't be seen, so if I don't do a stellar job on it, nobody will know, unless they take it apart.
|
21
I ended up with two runs on the side where I sprayed while taking the photo, so some 1000 grit sandpaper and a respray are in order.
| 
22
After several light coats, the blobs are no longer visible. Now I can reassemble it.
| 
23
The glass is frosted, so after a quick cleaning, I slide them into place with the smooth side out. I hope this will minimize the amount of dirt that will collect on the panes.
| 
24
Here's a close-up of the two dribbles that I had to undo.
|
