1
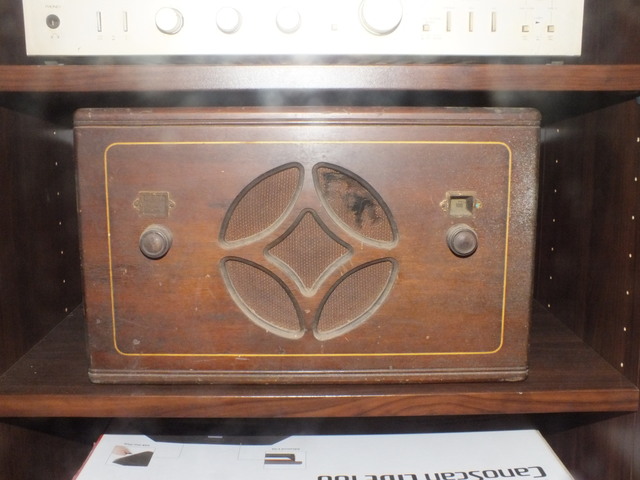
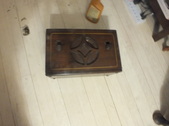
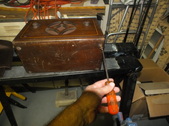
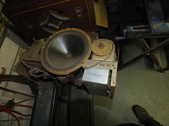
My father was unable to throw anything away. He felt that he could fix most things, and oftentimes he could. But most of the broken "treasures" sat idle collecting dust. This is one example.
| 
2
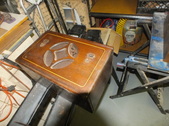
This is the tuning "window" it would be necessary to find a very small digital readout to fit this opening. I'm sure it can be done, but I'm not positive that I have the know-how to do it without modifying the wooden case.
| 
3
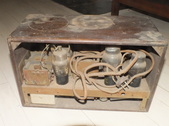
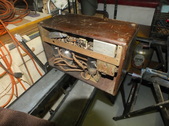
Here's a shot of the 'guts' of the radio.
| 
4
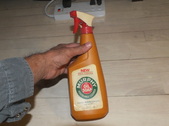
This stuff works miracles on wood, so I'm going to see if it can make it unnecessary to sand and re-stain the cabinet.
|

5
A Scotch-Brite pad is not so aggressive that it will remove the finish, but is good at getting grit off.
| 
6
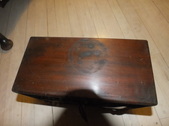
It did a pretty good job, but it is painfully obvious that somebody used a metal ash tray on top of the cabinet which left burn marks that are ingrained in the coating. Sanding and re-staining, may devalue the radio, so it will become part of the 'patina'.
| 
7
The grille material has also broken-down over the years, so I ordered some brown speaker cloth and hope it matches fairly well.
| 
8
My replacement grille cloth arrived today, so I'm going to disassemble the radio and see what I can use and discard. There are four machine screws on the bottom that hold the chassis to the box. That's where I'll start.
|
9
This was made in the days when philips head screws were not commonly used. So taking the flathead screws out is frustrating.
| 
10
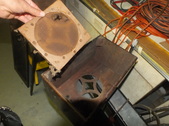
It took some patience to get the screws with ages of gunk on the heads off. Now I have to lift the case off the chassis.
| 
11
The wires on this radio are in sad shape, and the speaker looks like the paper cone in the center has disintegrated, so I"m not going to bother trying to use any of the original components.
| 
12
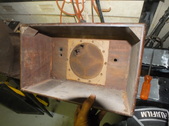
The grille is mounted to a piece of cardboard, which is stapled to the box. I have to pry out the staples so I can trace the shape of the cardboard onto a more durable material, which I'll cut out to mount the new grille.
|
13
Here's what I have to work with. It's brittle, but intact, so I'm safe to use it as a template.
| 
14
I bought a one eighth inch piece of masonite to remount the grille.
| 
15
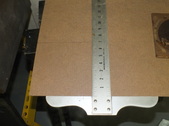
I traced the square parts, now I'm using a T-square to make sure the lines are true.
| 
16
Although it looks rectangular, this is a square, so I mark the top line.
|
17
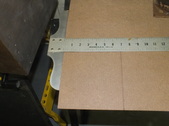
Now I have to designate the speaker edges.
| 
18
It isn't perfectly centered, although I don't know why.
| 
19
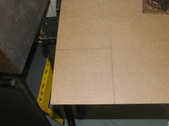
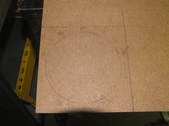
I peeled the deteriorating grille cloth off, and I'll use the crumbling cardboard to mark the surrounding holes.
| 
20
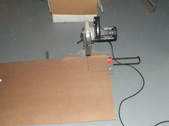
The table saw is gone now, so I'll use my chop saw to get the cuts started.
|
21
As you can see, the width of the blade wasn't quite wide enough to cover the entire distance. This makes it necessary to use a saber saw or circular saw to complete the cuts, diminishing the accuracy.
| 
22
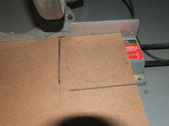
After cutting the remainder off with a circular saw, I drilled the holes as they were in the original. I still need to tend to the rough edges, but I have no idea where my sanders or files are, so that may take a few minutes, hours or weeks, depending on how much time I can dedicate to searching. Then it's another deal finding my set of hole saws to cut the speaker hole. This could drag out for an eternity.
| 
23
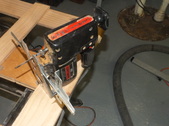
My saber saw has a circle cutting jig. In all the years I've owned this tool, I've never used it. A hole saw is an easier and accurate way to cut circles, which is my first choice. But the hole saws are expensive. So, I'm going to try this mostly by default.
| 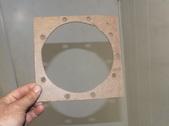
24
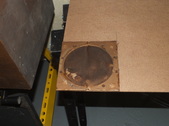
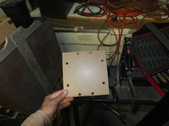
All my attempts were unsuccessful, so I simply cut the remainder out with the circle cutter removed. It is far from perfectly circular, as you can see.
|