1
I got interested in airbrushing after I got out of high school, when I got my first vehicle. I made some extra money in college painting motorcycles and vans. One of my buddies who helped me develop my interest had an old MC tank in his garage, so I asked if I could practice painting on it. I have hopes of restarting a gig in the custom paint field.
| 
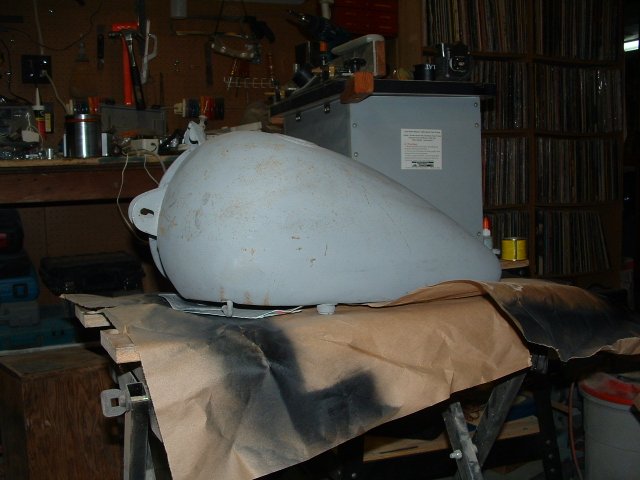
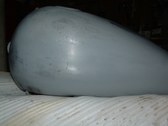
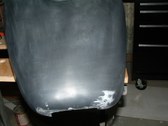
2
The tank was in primer, but had been sitting for ages, so it required some touch-up sanding. Here's how it looked when I first got it.
| 
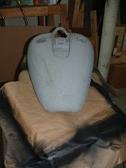
3
You can see where rust has begun to bleed through.
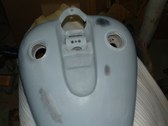
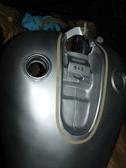
| 
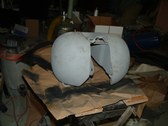
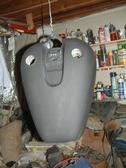
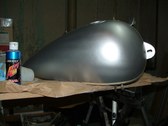
4
Some close ups of the troubled spots.
|
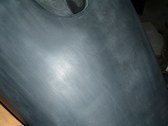
5
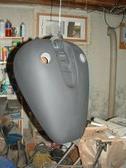
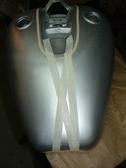
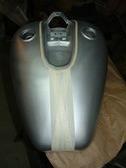
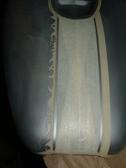
Wet sanding with 320 grit paper seems to take the rust down without removing too much of the base primer coat.
| 
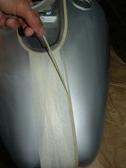
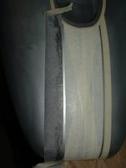
6
I try not to get it TOO wet to avoid having it rust again. So I sand and dry, sand some more, dry, sand some more....
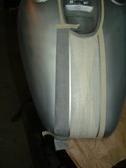
| 
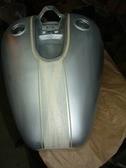
7
Satisfied with the progress I've made, I decide not to go overboard and stop at this point.
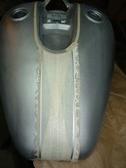
| 
8
The areas around the tank opening were the worst, but I think I did enuff to kill the oxidation.
|
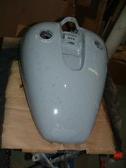
9
Now I give it a fresh coat of primer. This is a dark coat, if I was doing a show-quality bike, I'd re-sand and find the high and low spots, by seeing where the grey and black show thru. Grey indicates a high spot, since that's the color below the black. Low spots will sand away later, so the darker area indicates dents and pits.
| 
10
I'm only using this to highlight my artistic talents, so I'm not going too crazy with the bodywork details.
| 
11
After a light sanding with 600 grit, I discover some rough spots that need a little attention. Some spot putty and more sanding are called for.
| 
12
Here you can see where the sanding has given the surface some "tooth" but hasn't taken the primer off.
|
13
After a basecoat of silver, I begin laying out a design. I don't want to do anything that's become a vehicular "cliche", yet I don't want to alienate myself by not doing popular styles, so this is a critical descision.
| 
14
I run a quarter inch line around the rim which will leave a silver stripe.
| 
15
The more I work on it, the more I see the little flaws in my prepwork. Since I don't have a lot of spare time to devote to this, I overlook the small details, and continue on.
| 
16
Another view of the layout lines.
|
17
Not having a guide line to measure the distance from the center to a set point, I eyeball it and tape off areas I want to keep light.
| 
18
Nowthat I've laid down my center section, I can see that it needs some fine tuning.
| 
19
After realigning the tape, I run some 1/8 inch fine line tape along the edge, run another line parallel to it and then pull off the first one, leaving a 1/8 inch gap.
| 
20
I'd like to have a tribal feel to the tank, since that's hot at the moment, but I don't want to theme the whole tank that way, in case it becomes uncool a year from now.
|
21
I run a 3/8 strip over the fine line and that's where I draw out a custom edge. Here it is after I cut away the unwanted tape.
| 
22
I run a piece of transfer paper over the cut section, and tape it down.
| 
23
Now I rub it with a pencil to save the design.
| 
24
I transfer the design to a piece of printer paper, cut it out, flip it over and then remark it onto the tape on the opposite side and repeat the process.
|