1
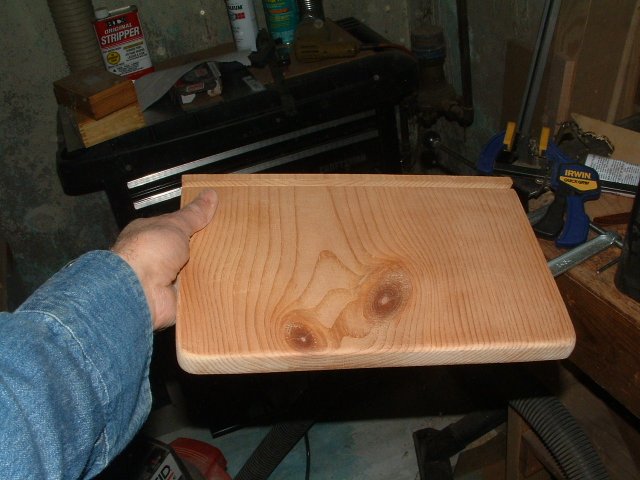
I always needle the girl who waits on me at Hooters, because the menus are stacked between the ketchup bottles, and everytime somebody uses one, the menus topple over. I keep telling her that I'll make a menu holder for her. She doesn't think I'll really do it. Step 1: I cut a piece of plain pine and rounded over the edges with a quarter round bit, in my router.
| 
2
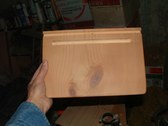
Next I ran a dovetail slot in the back and used a round-end bit for the menu holder...
| 
3
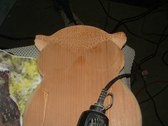
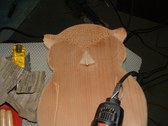
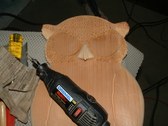
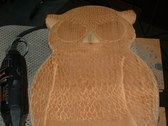
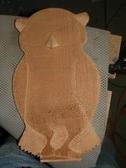
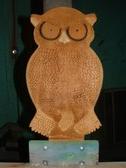
Next I cut out an owl from the same stock as the base.Using a Dremel tool, I begin carving the feathers into the bird.I originally was going to airbrush the details, but since this isn't a flat piece of material, I decided to go a different route. I'll airbrush the details later.
| 
4
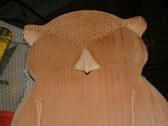
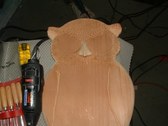
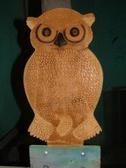
I cut out the beak from a scrap piece and glue it on. Hopefully It'll blend in better once I start adding color.
|
5
This is a slow, tedious process. I've barely touched the tip of the iceberg and I'm already getting cramps in my hand. The Dremel spins clockwise, which tends to make it diffcult to completely control where the feathers get carved. Between the loose grain of the wood, and the motion of the tool, I'm getting all kinds of unexpected results.
| 
6
I outline the eyes while I'm still patient enough to not throw the tool thru the window.
| 
7
Now I continue with the boring stuff. Feathers, feathers and more feathers...Who's idea was it to carve instead of airbrush???
| 
8
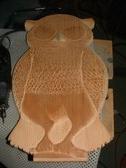
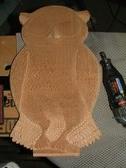
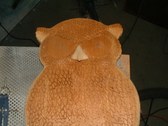
Unlike carving using a set of knives, using the Dremel tool has its' drawbacks. The rotation of the tip and the loose grain of the soft wood makes it a fight to get the feathers where I want them. Pine that has a slow growth , yields a nice tight grain and is much more stable than the rapid farm grown pine. Etching out these feathers is turning into a nightmare. I've done a lot, but still have mucho to do...
|
9
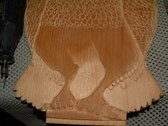
Here's a closer look. I'd like to use the tool to bevel the feathers, so they look like they lay atop each other, but that may not happen. I'm already getting burnt-out on this project.
| 
10
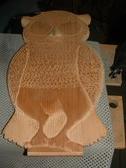
I'd say I'm more than half done, but the sections that remain are going to be rough to do in order to make the owl looks right.
| 
11
I'm doing all the easier parts first. At least that way I feel like I'm making progress. The cramps in my hand are another reminder.
| 
12
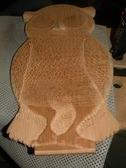
I found an owl picture on the internet after I started this. I wish that I'd found it earlier, so I could stick closer to that as a reference. As it is, I'm having a hard time keeping the feathers looking right.
|
13
At this point, I wish I'd decided to simply paint it, but I'm almost finished, so I'll tough-it-out!
| 
14
Finally! No more feathers.Now I can begin working on the paint. I'm going to put some blinking L.E.Ds in the eyes, so I'll have to wait for parts before I can knock them out.
| 
15
It's not all that impressive now. I hope that airbrushing it will bring it to life. A generous coat of sanding sealer will go on before that takes place.
| 
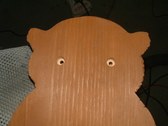
16
Now that it's been sealed, I drill a 1/4 inch hole for the L.E.Ds in the center of each eye.
|
17
On the reverse side I drill a wider hole using a forstener bit. This leaves a nice flat bottom.
| 
18
Now that I've done the prep for the electronics, I can finally start adding some color. I start with the dark rings around the outer edge of the eyes.
| 
19
This owl has a dark beak as well. Before I drilled the holes, I took a compass and marked the rings for the pupils, which are also dark.
| 
20
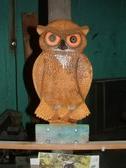
Now I start shading the feathers. The eyes are an orange color and I'll add that once I use up the dark tones in the airbrush.
|

21
Painting the feathers is going to be as tedious as carving them.
| 
22
I add the white crest on Mr. Owls' chest. Hopefully I can get this done with enough time to get a coat of polyurethane on it, so it has plenty of time to dry.
| 
23
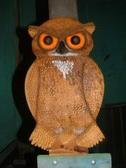
The eyes come alive with the addition of the orange. I'm at the point where I think I'll just paint by area, rather than individual feathers. Old age is draining me of my patience.
| 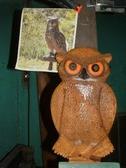
24
In the background is a reference picture. You can see how intricate the pattern of feathers is.
|