1
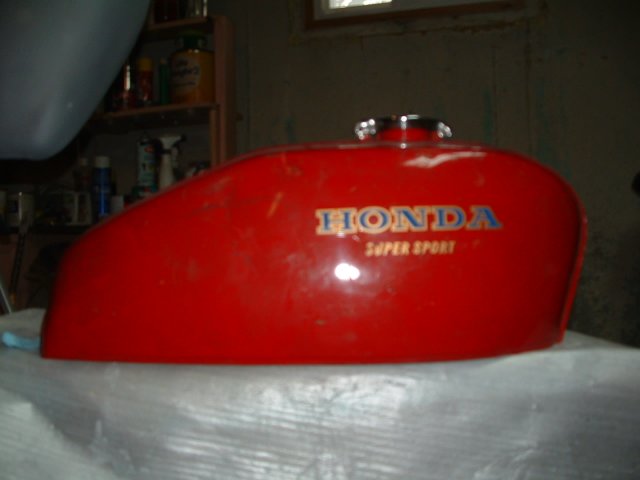
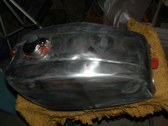
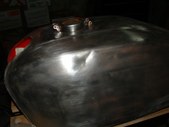
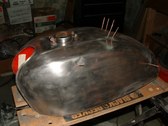
This Honda tank is in fair shape.Lots of little dings and dunges, but nothing a bit of bondo and a hammer won't fix.
| 
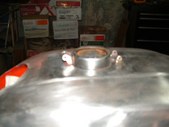
2
A top view of the spots that need attention...the largest dent is right on a seam, which makes it a bit of a challenge to repair, since I cannot do it from "the other side"
| 
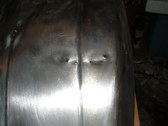
3
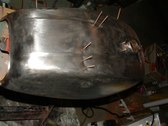
Here are the offending spots on the other side. This also has a ding right on the ridge line of the top crease. If it was an automobile door, the inside panel could be removed to make the straightening a whole lot simpler.
| 
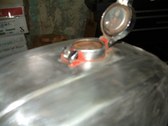
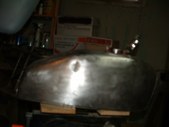
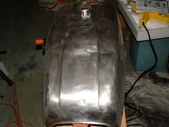
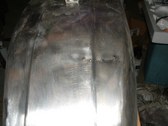
4
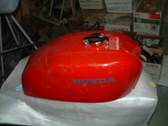
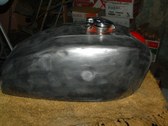
The Other side of the Honda tank...a few spots require attention but it's not a total loss...
|
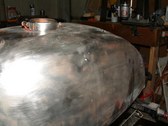
5
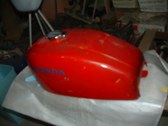
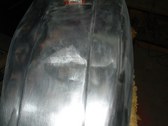
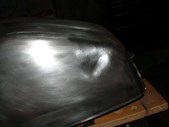
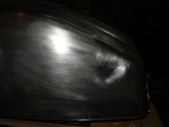
The top. You can see the ding along the edge line. That'll take some skill to work the ding out of. I'm going to get a bit of an education massaging the dents out of this babe.
| 
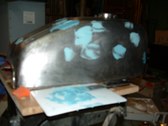
6
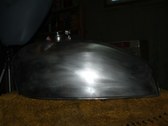
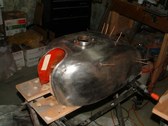
After some work with an angle grinder loaded with a wire brush, here's the Honda tank deprived of its paint. I HATE red anyway...
| 
7
The top...I could just fill it, but putty has a way of cracking, so I'll try and smooth as much as possible and fill the rest...
| 
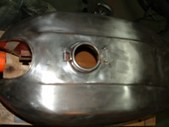
8
Using a wire wheel, I was able to get rid of the old paint fairly quickly. The tough part is getting at all the paint around the filler neck.
|
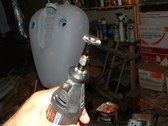
9
I tried a drift punch but the smallest one I had, wasn't quite long enough to do the trick, so I ended up using a finish nail to drive out the rivets on the cap and latch.
| 
10
A Dremel tool armed with a small wire wheel is what I'm using to tackle the remaining islands of paint.
| 
11
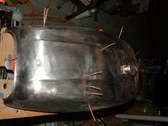
You can see the dings and dents. I'd prefer not to just fill 'em up with putty. I bought an inexpensive stud welder, and I'm about to get my "Baptism by fire" using one of these tools.
| 
12
You can see the dent on the lower side, which is right across a ridge line, this is the trickiest part to do the repairs on.
|
13
Some of the minor flaws.
| 
14
another one of the boo-boos.
| 
15
A closer look.
| 
16
Another view of the problem area.
|
17
Looking like a porcupine, I've put on the first of the studs.
| 
18
Another view of the places I've chosen to experiment.
| 
19
It's hard to tell, but this is after I've used the slide hammer to raise the metal.
| 
20
Although I didn't do too badly, this is a step that requires experience. Holding the welder on too long, can burn right through the metal.
|
21
Now I've cut off the studs and after some grinding, I'll slop on the bondo.
| 
22
Here's the same spot with the studs ground down.
| 
23
Side view.
| 
24
I start with the lowest sections and putty them up.
|