1
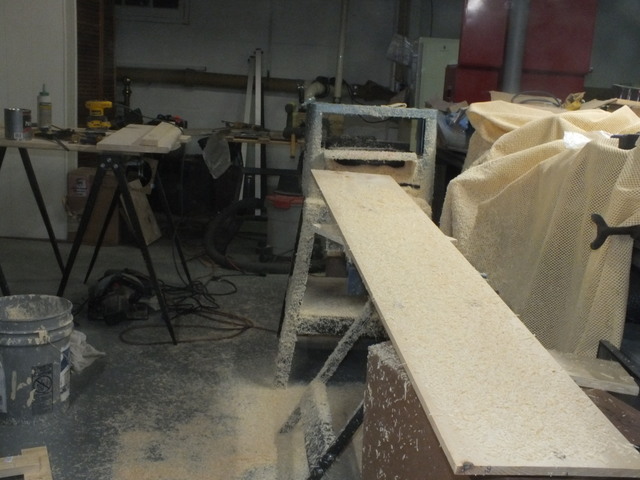
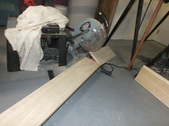
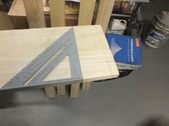
I used planks of pine, simply because it's inexpensive and easy to get. This is NOT my first choice of wood to utilize. It is often not cured very long before machining, and when the wood does dry out, it will curve, cup or warp. It has a lot of knot holes in it, and when stained, it tends to appear blotchy. I really don't want to paint it, so I'll have to get creative in my building process.
| 
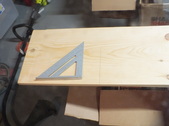
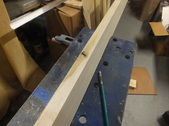
2
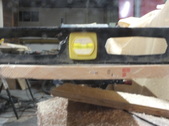
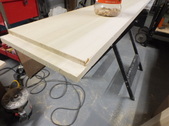
I put a level across the width to see how cupped it is. Hard to see in this shot, it needs a lot of prep work before I can start assembling.
| 
3
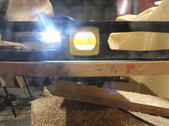
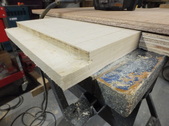
I placed a flashlight behind the level to highlight the gap at the bottom.
| 
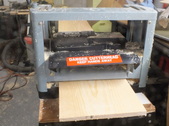
4
This is a power planer, that shaves off wood in varying amounts. The size is 3/4 of an inch, and in eliminating the flaws, I shaved it down to 5/8 of an inch. It doesn't seem like much but when finalizing the build it does weaken the strength significantly.
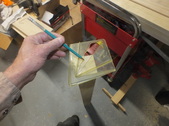
|
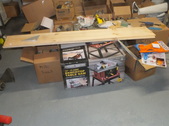
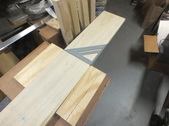
5
I bought two sizes, some about five feet long and others about ten. I planed the short pieces first. I then marked them where I wanted to trim them, avoiding many of the knots and uneven spots from planing them by myself.
| 
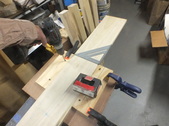
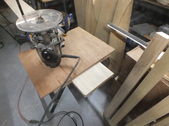
6
I'd like to do a decorative method of interlocking the length and width pieces by a process known as Box-Joining. It provides a lot of surface area for glue to bond to. This means that I have to account for the overlapping edges, so the mattress will fit correctly between the parallel sides.
| 
7
I have to plane down the long pieces some more. One is so badly curved, that it planed unevenly. It also has a lot of knots in it, so I'll be looking for a replacement piece. The one I'm rejecting can be used for extra pieces, in case I mess something up.
| 
8
I don't have the room or time to do box joints, so I'm going to resort to mortise & tenon joinery. I bought some poplar posts that are two and a half inches by two and a half. I have a gauge that I'll use to mark the centers after I have cut the ends to hopefully square them up.
|
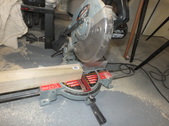
9
I use my compound miter saw to lop off the ends.
| 
10
It's kind of faint, but you can see where the intersecting lines mark the centers.
| 
11
I had no idea that these stickers would be such a pain to remove.
| 
12
I use an inspection sticker scraper to ease them off. It's important that I don't gouge the surface.
|
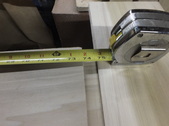
13
Now I cut my boards to length. I leave extra, to account for the thickness of the boards, when assembling the framework. On the last bed I built, I only added enough for one thickness, leaving the inside area three quarters of an inch too small.
| 
14
Next I decide which surfaces are more attractive and arrange them so the bad spots face in or down, out of eyesight. This knot will face down.
| 
15
I'm making a simple jig to run my router against to make tenons.
| 
16
It's a really crude device, but I'm going to scrap it as soon as I'm done, so there's no point in over-engineering it.
|
17
Next I mark the spot I want to remove, using a rafter square.
| 
18
If I had spent a touch more time, I may have noticed that I used a crappy edge as my guide. A bit of sanding should lessen the effects of the un-precise perimeter.
| 
19
I'll run the base plate the router is mounted on against the jig.
| 
20
Here you can see the tenon. It is only one sided, the mortise will set it so it runs flush with the post.
|
21
Carpenters have an old adage, " Measure twice, cut once" I didn't follow that, and made the tenon too long. Now this piece is too short for the mattress to fit inside. I'll have to buy another plank and make another. On the good side, I'll have plenty of extra wood for other projects
| 
22
This area on the edge has what's known as "tear out". Generally when cutting or routing a piece, a scrap of wood is put adjacent to it, so the force of the blade doesn't rip the wood apart. I was unable to do this, and now I have to find a creative way to conceal the mishap.
| 
23
Due to the positioning of the jig and wood, it's nearly impossible to place a piece of scrap wood against the primary piece. So I'll try a couple of other woodworker's tricks, to see how I fare.
| 
24
I have to make a new piece since I ruined the initial one. So, once again I'm measuring and marking my cut lines.
|