1
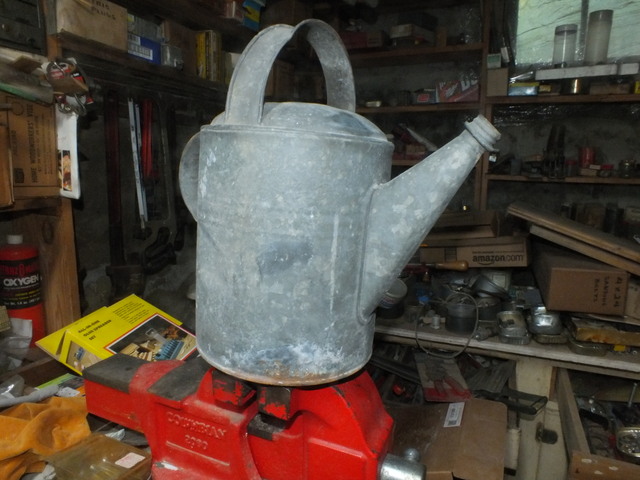
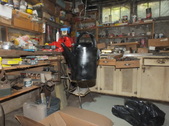
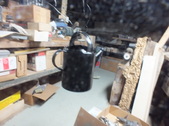
This watering can was languishing in the nether regions of our garage. I have no use for it, but it has a certain panache, so I decided to paint it and use it as a planter.
| 
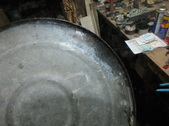
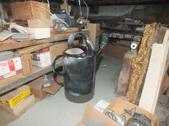
2
There was some rust on the lower edge,so I wire wheeled it to rid the oxidation. I opted not to try and bang out the dents.
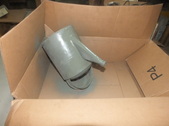
| 
3
It's pretty apparent that this vessel has a leak. Rather than trying to patch it, I'll simply leave it and paint over it.
| 
4
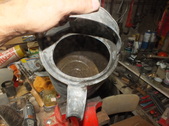
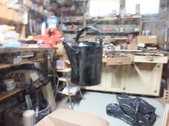
After a thorough scuffing,I see there are a lot of spider webs on the inside, so I'll have to address that as well.
|
5
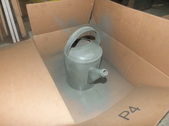
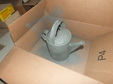
Inside a box, to minimize over-spray, I give it several light coats of self-etching primer, starting with the bottom.
| 
6
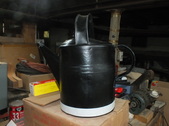
Once dry, I flip it and spray the top.
| 
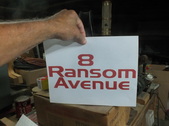
7
Due to the odd shapes, it's difficult to cover the shape easily.
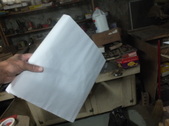
| 
8
After the primer dried, the spots I'd missed or didn't cover adequately stood out, so I gave an additional coat to get those spots.
|
9
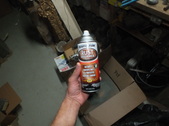
I came across a can of rust converter after I'd wire wheeled the bad spots. This would have been a quicker way to deal with those sections.
| 
10
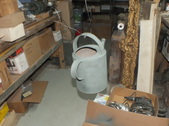
I hung the can by some wire to make it easier to get to the most area without waiting for it to dry.
| 
11
The lighting in my cellar isn't optimal, so it's easy to miss spots and not know it until the unit is dry.I'll give it multiple coats anyway.
| 
12
As I said, once the coat is dry, it's easier to see where the coverage is lacking.
|
13
The steel is galvanized, so I don't spend a lot of time or effort trying to paint the inside, just the higher portion that will be visible.
| 
14
There were some runs, but I didn't make much effort to hide them, it is, after all, just a watering can.
| 
15
Once the paint gets tacky, I can lay heavier coats on it without getting drips and sags.
| 
16
I'm satisfied with the way this is turning out. Now the more enjoyable portion is coming up.
|
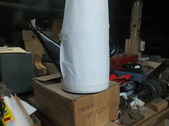
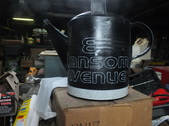
17
The paint is rather uneven in the way it coated this. I hadn't noticed that earlier. In any case, I ran a band of tape around the bottom to act as a spacer guide.
| 
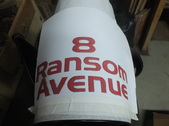
18
I printed the writing, since I'm not a good letterer.
| 
19
Now I wrap the bucket with transfer paper. This is much like carbon paper, except it's white, so it'll show up on the black paint.
| 
20
I tape it down to avoid having it shift while I'm putting the letters down.
|

21
The first print I made was too large, so I had to shrink it down a bit. This is what I'll use to transfer the letters.
| 
22
This fits, so now I'll secure it with tape.
| 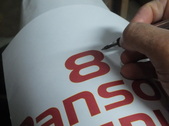
23
Using a fine point pen, I go over the outlines of the letters.
| 
24
After removing the transfer paper,you can see the lettering quite easily.
|