1
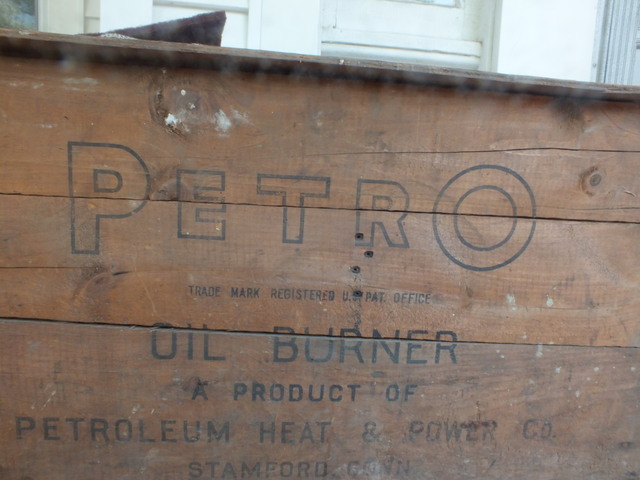
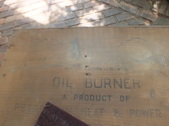
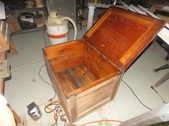
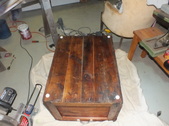
While cleaning out our house, I came across this packing crate. The description of oil burner parts is kind of kitschy, so I decided to clean it up a bit and see if I can sell it.
| 
2
It's already got the aged 'patina' so I don't want to sand it. My plan is to take a scuff pad to it and just knock off the grit and dirt, and then give it a coat of clear polyurethane.
| 
3
This is the pad I'll use, a red Scotchbrite.
| 
4
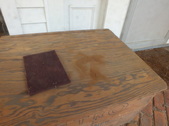
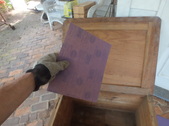
This is clearly not a piece of fine furniture. The boards are sawn unevenly and it's quite rough, so splinters are also a hazard. I think I might give the inside a light sanding.
|
5
Right now, getting all the dust out is the main objective.
| 
6
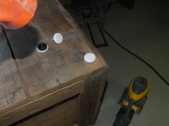
I'm going to take some sandpaper to the edges to lessen the chance of splinters, in case somebody wants to use this as a child's toy chest.
| 
7
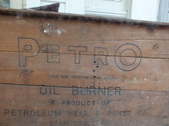
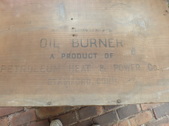
The back also has the brand name on it. It's also got some white haze over it. I tried to wipe away the white smudge, but it also took off some of the ink. I backed off, only scuffing the spots where the is no writing.
| 
8
Much of the dark ink has faded away, so I'm not going to go any further here. This is the back, so it's less likely to be noticed.
|
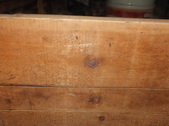
9
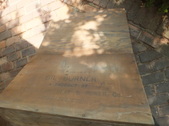
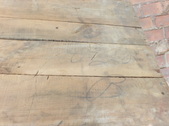
I don't know what's written on the bottom, but it clearly was scrawled on this after it was made.
| 
10
I had ordered some medium grit sandpaper, and this is what I ended up with. This would be fine for auto-body work, but it's not optimal for woodworking.
| 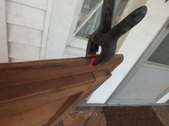
11
This was a large splinter, I didn't want to break it off, so I glued and clamped it.
| 
12
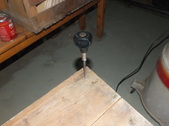
Although difficult to see, there are nails that poke through the wood, so I took an angle grinder and removed the exposed stumps.
|

13
Next, I centered and mounted a set of handles. I started to sand the interior, but had to stop so I wouldn't miss Stephen Colbert.
| 
14
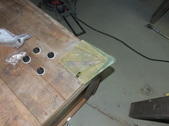
I'm using a center finder to align the feet. I don't know why I'm being so picayune about this, it was crudely made, so just hammering the feet in anywhere would be more fitting to the flavor of the piece. In any case, I marked the holes two inches in on each side.
| 
15
I used an awl to start the holes.
| 
16
The a dead-blow hammer to pound them in. Actually, I only did one. I want to get the box coated before I attach them for good.
|
17
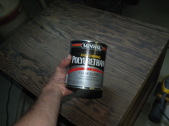
I've had good results with this brand, so I stick with it.
| 
18
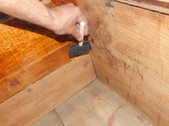
I'm starting with the inside,after a good vacuuming out.For spreading polyurethane, I like to use the foam brushes. They don't leave brush marks, and when I'm done, I just throw them away. This is a waterborne poly, so I could clean the foam and use it again.
| 
19
I'll let the inside dry and then do the outside and bottom.Then I can re-attach the hardware and see if it generates any interest.
| 
20
The clear darkened the wood, so the writing isn't as prominent. I put the feet back on, and I'll call it done.
|