1
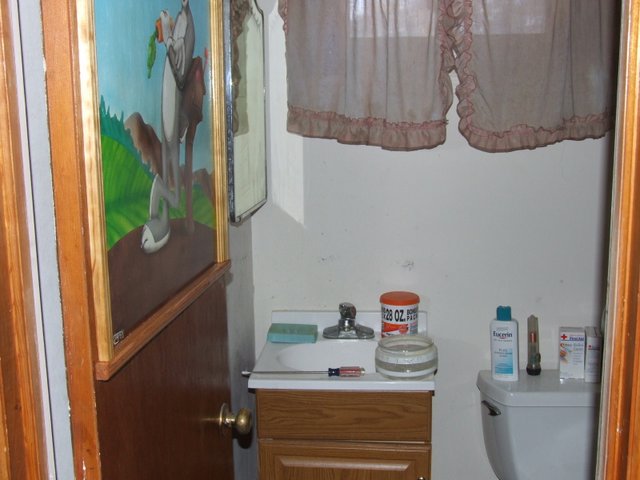
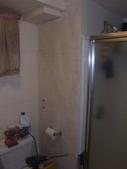
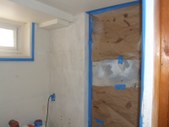
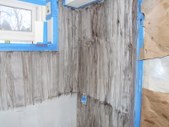
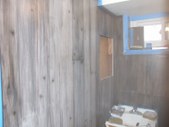
After peeling off the ugly wallpaper and spackling the holes, the bathroom is less offensive, but still needs rehab.
| 
2
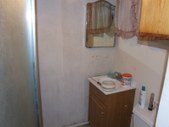
I'm going to have to sand the walls. That's a task I dread, because of the dust, noise and messy clean-up involved.
| 
3
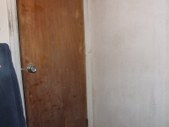
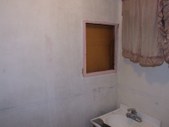
You can see where the "carpenter" spliced the casing back together. It was never repainted. I don't know why he didn't just put new casing up, the cost is minimal.
| 
4
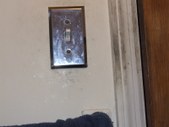
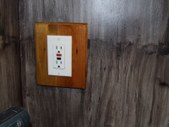
Here's another look at the casing he had removed and then just put back. He didn't putty up the nail holes, repaint or even clean the old job. The switch plate had paint all over it. I removed it and cleaned it up, but to remove it BEFORE painting would have been the professional way to do it.It only takes a few seconds to take two screws out.
|
5
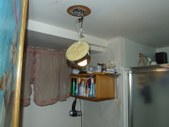
The ceiling fixture was also gobbed with paint, another easy to avoid problem if done by a skilled painter.
| 
6
I took out the shelf, this was one of my projects that was also spattered with paint. Since I had so much junk piled on it, it wasn't visible until I removed it.
| 
7
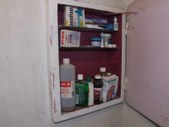
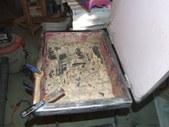
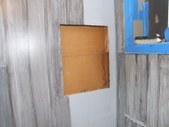
The medicine cabinet was painted by an earlier occupant, and they spared no paint. One can easily spot the brush strokes and other stuff that settled into the wet paint. I HATE the color so I think I'll try and restore it.
| 
8
I got the cabinet out, but in the process, the prybar fell onto the glass shelves I had removed and broke both of them. I'll have to see if I can rig up some plastic ones.
|
9
I want to do a faux Barn board look, but I definitely bit off more than I can afford to chew. The walls that had the paper on them don't take the paint very well. I'll concentrate my efforts on the walls that are already painted. I'm masking off anything that might get paint on it, since I'll be using a spray gun.
| 
10
Here's the medicine cabinet. I took an angle grinder with a wire brush and easily removed the ouside layers of paint, but the inside is another problem. The paint was at least a sixteenth of an inch thick. I ended up using a chemical stripper for the inside job.
| 
11
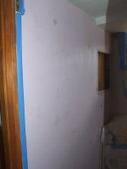
There were fuzzy remnants fromthe wallpaer still on this wall, and when I put paint on it, it bubbled up. So I scraped it all off to reveal some '50s Pastel Pink paint. The gray that I used doesn't cover it very well.
| 
12
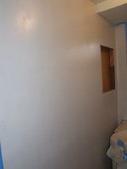
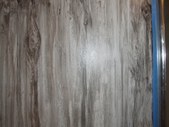
This is after the third coat. I hope that the grain hides it, because the gray is still pinkish.I had masked off the ceiling with blue painters tape. I saw it on the T.V. show 'Trading Spaces'. When I did house painting, it hadn't been developed yet. On one hand it's good because it's low-tack, but on the other hand, it sucks because it doesn't stick to the things I masked off.
|
13
While the main wall dries, I start on the smaller wall. One problem I have is starting the grain. There are always blobs at the top and bottom where I start the graining. I may have to use a strip of quarter round molding to hide that.
| 
14
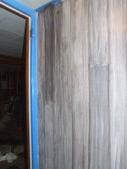
Using torn sponges, an old tooth brush, a stiff brush for cleaning car tires, and just about anything else that looks like it'll leave random marks, I've managed to ceate a fairly realistic looking rough wall.
| 
15
I'm almost done with the first part of the process. I'm getting itchy to do the airbrushing.
| 
16
Since old barns aren't exactly put together like houses, I used a weighted string as a guide for the slats, rather than a level, which would be a bit too precise and refined. I want gaps, nail holes, splinters and other features that give barns "character".
|
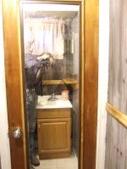
17
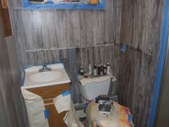
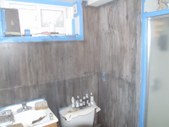
This corner is a problem.I may be skinny, but even I can't fit between the wall and the vanity to get to all the spots. So it goes...
| 
18
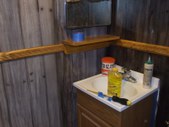
For a first time effort, it's not bad, but there are many aspects that I'd redo if I had the time and money.
| 
19
Now I have to start putting everything back together. Special thanks to Dennis Mathewson, who wrote a terrific how-to in 'Auto Graphics' magazine about doing wood grain that inspired me to give this a try.
| 
20
Since I never throw away wood scraps, I decided to put one to good use, and made a surround for the outlet.
|
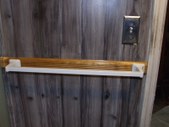
21
I fastened the towel bar to a strip of chair rail molding. The look of wood will be everywhere in this bathroom!
| 
22
I finally got around to installing the rest of the molding. Whoever put up the bathroom, left a serious absence of studs. Finding something solid to tack them into, was a task and a half.
| 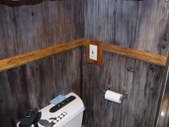
23
I had to cope a small piece to fit in between the far wall and the outlet. Alot of back and forth trimming, test fitting, more trimming etc. I'm happy with the way it turned out.
| 
24
When I worked for a general contractor, I got this mirror out of an apartment we were demolishing. It's a cheapie, with a plastic frame. I got some quarter round edge molding and ran it through my router to create a way to secure the mirror, and partially obscure the cheesy plastic.
|