
1
DSCF2609
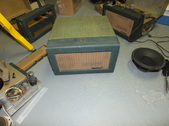
I've seen numerous videos on Youtube, that show how an old record player, radio or HiFi can be adapted to use as a guitar amplifier. Some are quite portable, due to their size. I'm not an electronics whiz, but I do have some experience with things of that nature, so I figured I'd give it a try.
| 
2
DSCF2608
I scored three old RCA phonographs off eBay, none working. So I have an open canvas to play around with.
| 
3
DSCF2610
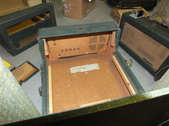
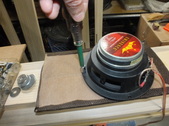
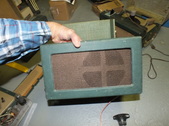
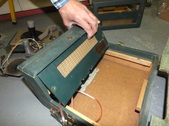
First I yanked the platter, but the amp was also connected to it, so I had to be careful of what I was doing.Once I got it clear, I have a nice 'retro' looking box to house it in. I don't have a work bench, so finding out if the amplifiers work will take some doing, and I'm not prepared to do that at this time.
| 
4
DSCF2611
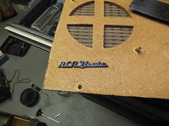
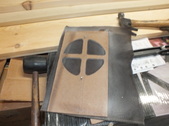
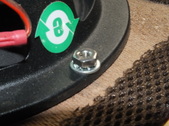
I would like to keep the RCA emblem, so I have to spin off this press-nut.
|
5
DSCF2613
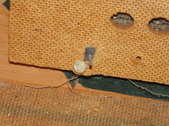
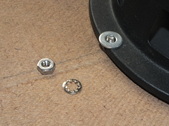
Unfortunately, the lettering broke, rather than the nut coming off.
| 
6
DSCF2612
I might be able to salvage it, so I try to be tender while getting it off the grille.
| 
7
DSCF2614
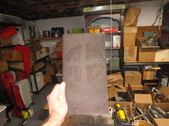
This is the piece that was in it. I'm going to use a better quality speaker, so I won't use the grille, as much as I'd like to retain the retro style, the speaker I'm using is bigger so it won't fit on this piece of masonite.
| 
8
DSCF2615
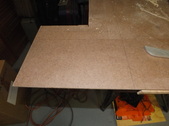
I have some lying around so I mark, the size I need.
|
9
DSCF2616
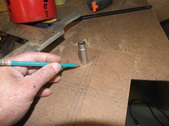
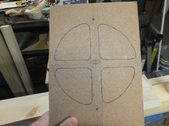
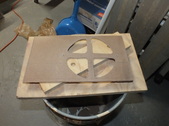
I trace the shape of the cut-out and use a socket to make the rounded corners uniform.
| 
10
DSCF2617
I traced the outline with a fine point Sharpie. It is clear that I don't have my lines centered very well. Since it will be covered with grille cloth, I'm not going to sweat it.
| 
11
DSCF2619
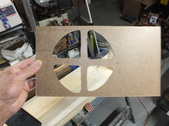
After cutting it out with a saber saw, I spray on some contact adhesive.
| 
12
DSCF2618
I also need to drill a couple of holes to mount the speaker.
|
13
DSCF2620
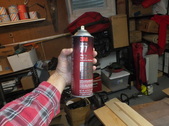
This is my all purpose mounting adhesive. Scotch Super 77 is great stuff. It holds well and I've had no problems with it becoming brittle over time.
| 
14
DSCF2621
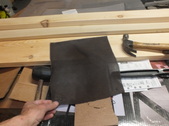
I lightly mist the spray on the grille cloth, so not to clog up the pores.
| 
15
DSCF2622
Then I press the two pieces together, careful not to overlap or get wrinkles in the surface.
| 
16
DSCF2623
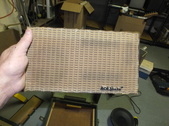
Here's the finished piece. It is somewhat larger than the original, so I hope I can fit it in the same spot without too much trouble.
|
17
DSCF2625
I added some heavy duty speaker wire to the terminals. It's important to keep the polarity correct. Sound will come out, even if the wiring is wrong, but the quality of the sound will suffer.
| 
18
DSCF2624
I crimp the terminals on, making it easy to remove the components, should there be a need to do so in the future.
| 
19
DSCF2626
I secure the speakers with nuts and lock washers. The machine screws I used weren't very long, so I had to compress the speaker down to get them started.
| 
20
DSCF2627
Here you can see that the threads barely rise above the thickness of the washer.
|
21
DSCF2628
I tighten them down with a nut driver.
| 
22
DSCF2629
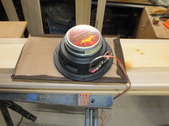
Here's what it will look like, once I mount the speaker in the cabinet. It doesn't have the retro look I was hoping for, but since I'm not sinking much money into this, my budget is the primary concern.
| 
23
DSCF2630
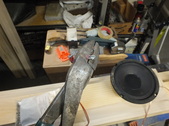
This is the piece that originally sat on the inside. It clearly will not fit now, so I'll have to figure out another way to cover it without it looking glaringly obvious.
| |
