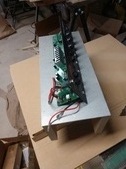
1
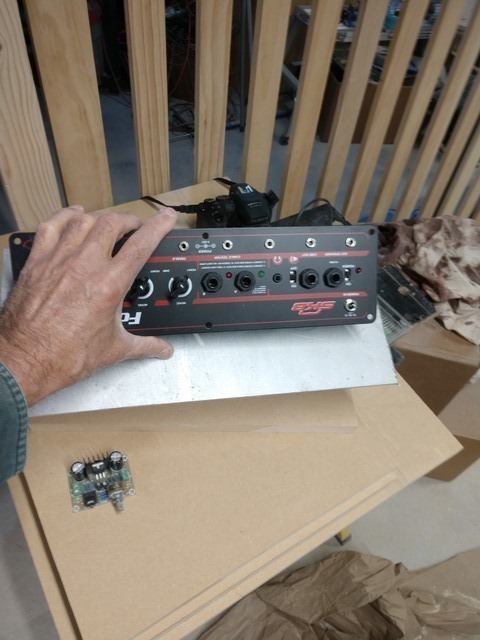
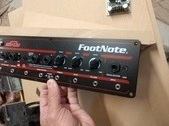
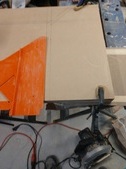
A while back, I bought this guitar amp kit, and never got a chance to put it together. It's essentially an amp head which you decide on the speaker and cabinet design. Pretty cool.
| 
2
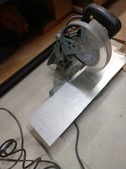
The flange on the amp head is too small to mount it on the edge of the cabinet material. This is a serious design flaw, I'll have to work around this.
| 
3
I could build a separate box for the head and speaker, but this is a small practice amp, so that's a lot of work for little reward. I think I'll look in my stash of spare parts and see if I can find something to mount the head on, and see if I can make a sloping front panel, like the vintage amps of the 1960s.
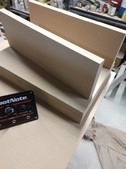
| 
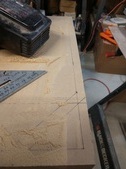
4
I found a nice chunk of 1/8th inch aluminum, which should do well, but since I'm going to be cutting a large portion of it away, it seems like a waste. I have no other substitutes, so this wins by default.
|
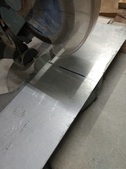
5
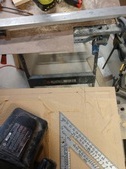
Using an old compound miter saw that I bought online, it turned out to be too small for wood working, so I put a metal blade in it, and use it as a metal chop saw. Only for relatively small parts however. I made the initial cut but it is too small to go all the way through, so I had to flip it over and cut the remainder from the opposite side.
| 
6
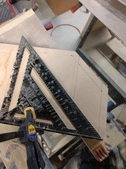
The results aren't too bad. A bit of filing and some sandpaper should remedy any rough edges.
| 
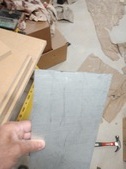
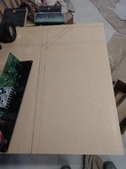
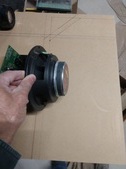
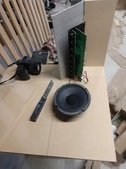
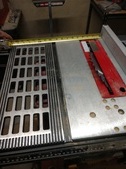
7
This is the head unit atop the new mounting plate.
| 
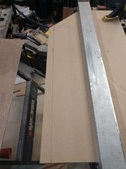
8
There looks like adequate room behind it to mount it easily. This is the aluminum sitting across two pieces of scrap MDF. I'm using MDF because it's less expensive than plywood, it takes paint well and it's sonically inert, so it won't create odd harmonics from the vibration.
|
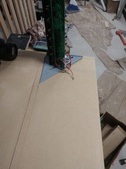
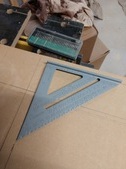
9
I'm going with my sloping face idea for the panel. Here I use a rafter square to mark the cut lines. I try to keep it simple by making it an even 45 degrees.
| 
10
I have a couple of speakers, but I don't know a whole lot about the specs for this amp, so it might not be efficient to try and push two speakers. Plus, it's more work to properly locate them inside the cabinet. I'd like to get the speaker as close to the center as possible.
| 
11
For simplicity's sake, I'm just going to use one speaker. I try to find the best spot to mount it.
| 
12
I'm going to slant the top face at a 45 degree angle, to try and emulate that vintage 60's look.
|
13
I use a drywall knife to mark the spots where the plate will rest. Then I'll use a router to run a groove in the front and top panels, for the plate to rest in.
| 
14
Since the fence on my table saw is so imprecise, I'm reluctant to use it. Marking the pieces for the cuts is also a 'Hit Or Miss' proposition.
| 
15
The old carpenter's adage, . Measure Twice, Cut Once'. Never seems to told true for me, no matter how many times I measure, I always seem to get pieces that are slightly off.
| 
16
I use the edge of my rafter square as a guide for my circular saw.
|
17
Then I have to flip the opposite piece the other way, in order to cut the same slanted front.
| 
18
Here's how it'll look.
| 
19
I use my saw guide to mark where the front face will attach. Trying to hold it and make a close indicator is an awkward task. This yields better results...theoretically.
| 
20
I have to bevel the top piece to math the slant on the front. Trying to do that with the circular saw is not easy, or accurate. Of course doing it with this table saw is equally inaccurate. When I first got it, the handle that locks the fence broke the first time I used it. I got a handle off an angle grinder that has the same thread. The problem with this is: there's a flange around the hub that gets in the way.
|
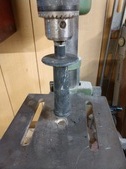
21
I took it and chucked it into my drill press. I'll see if I can shave it down enough to use on the table saw.
| 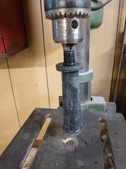
22
I tried using all sorts of tools on this. First I tried a rasp, next a scraper, then finally an angle grinder. This is what I ended up with.
| 
23
It worked enough to use it to tilt my blade to 45 degrees.
| 
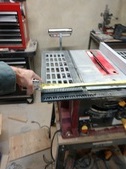
24
Here's how it tilts. Getting the fence to align properly is another story.
|