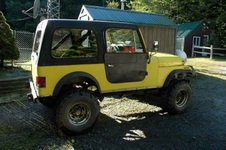
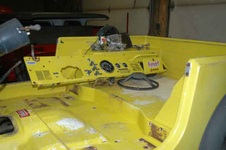
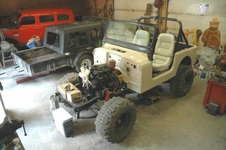
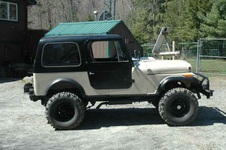
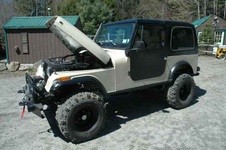
1
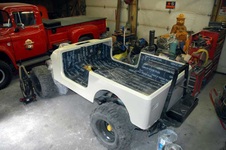
DSC 6112
Tub and top are all fiberglass. Only steel is the doors. Nice.....no rust to deal with
| 
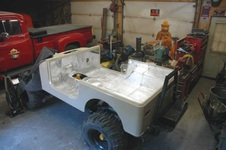
2
DSC 6113
| 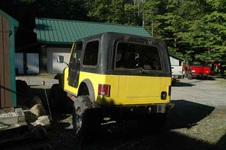
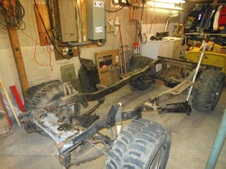
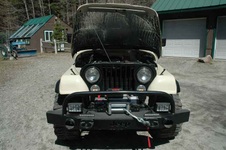
3
DSC 6111
September 10, 2011
next 10 pics.
|
4
DSC 6114
| 
5
DSC 6115
| 
6
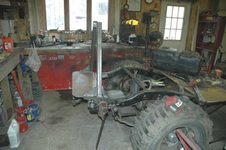
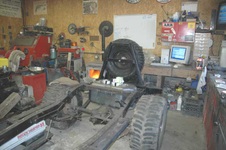
DSC 6116
|

7
DSC 6118
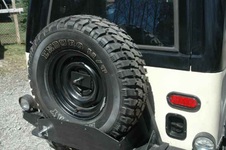
| 
8
DSC 6119
| 
9
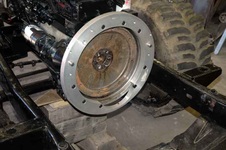
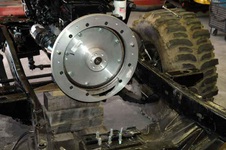
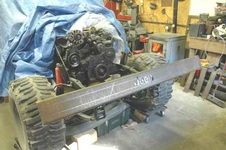
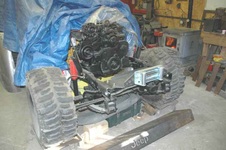
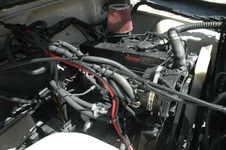
DSC 6121
|

10
DSC 6122
9/14/11.....next 3 pics
| 
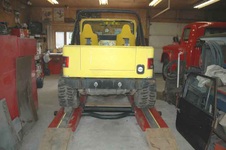
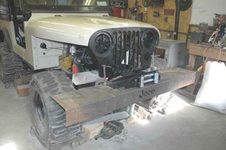
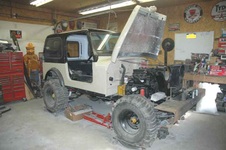
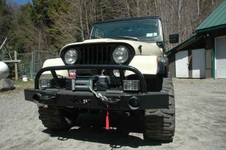
11
DSC 6123
| 
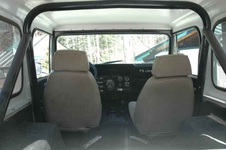
12
DSC 6124
|
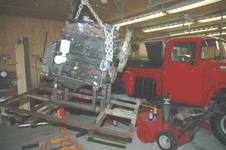
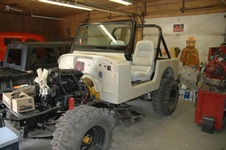
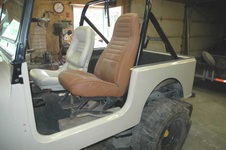
13
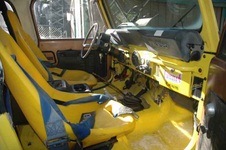
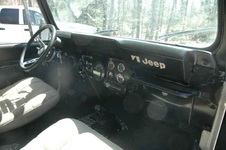
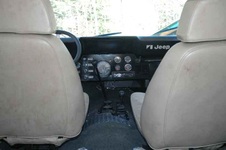
DSC 6156
September 25 2011
Cummins for the CJ7 is now in custody
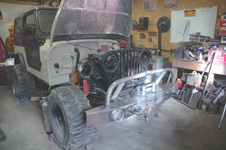
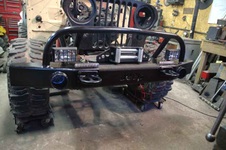
| 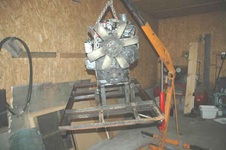
14
DSC 6157
| 
15
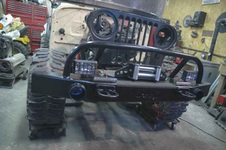
DSC 6158
|
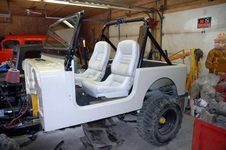
16
Dec-17-2011
December 17, 2011
| 
17
December26 2011
December 26 2011
| 
18
122711a
December 27 2011
|
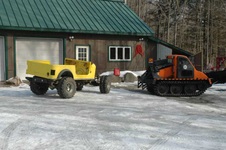
19
Feb-22-2012a
Next 4 pictures February 21, 2012, moving CJ7 into shop for serious work
| 
20
feb-21-2012-c
| 
21
feb-21-2012-e
|
22
feb-21-2012d
| 
23
312012a
3/1/2012
Swing down tire mount with Receiver hitch under it.
| 
24
312012b
|

25
312012c
3/1/2012
New fuel tank craddle
| 
26
t1
3/7/2012
Bumper, tire carrier, fuel tank craddle, receiver hitch complete. Now onto the rear brakes, seals etc.
| 
27
t4
|
28
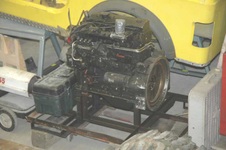
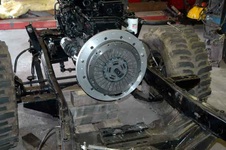
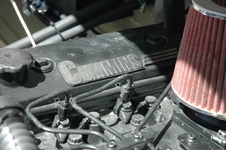
1
April 20, next 6 pictures
Back of Cummins B3.3 flywheel adapter is SAE #4 with a SAE #10 clutch. Adapters from Pheonix Castings and Advanced Adapters
First to convert SAE #4 to SBC
| 
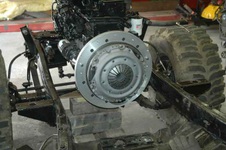
29
2
Next convert SAE #10 clutch to SBC hube for SBC Flywheel
| 
30
3,jpg
SBC 11" flywheel and SBC clutch disk
|
31
4
SBC Pressure Plate
| 
32
5
Advanced Adapters Bell house, SBC to
Tremec T 176 Tranny
| 
33
6
Cummins B3.3, Tremec T 176 and Dana 300 T Case all married up
|
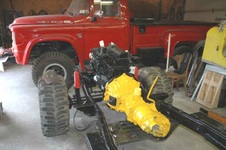
34
4292012
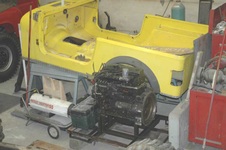
April 29, 2012
Cummins runs great, put the body on so I can easily do body work/prep for paint.
| 
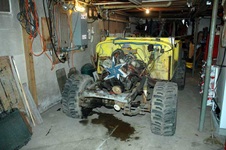
35
June-12-2012-a
Mass Loaded Barrier
| 
36
June-13-2012-a
Insulation and more sound proofing
|

37
June-13-2012-b
Cutting Carpet in
| 
38
June-30-2012-a
New Windshield glass, tinted
| 
39
June-30-2012-b
1980 Corvette Bucket Seats
|
40
June-30-2012-c
| 
41
CJ7-Seat
Trying to choose.....does it get the 1980 Corvette seats or the Original OEM CJ7 seats recovered in body color or black.
| 
42
July 6 2012
|

43
July 6 2012
| 
44
10 20 12a,jpg
October 20, 2012
Everything is ready for winter, now back to building. The bumper is a copy of sorts of the one on my Power Giant. With Template and Plasma, I burned the "Jeep" in front. Much more to do, but its a start
| 
45
10 20 12b
Besrk Heavy Duty Winch mount plate to mount the Engo 12,000 pound winch and roller fairlead.
|

46
10 23 12a
Everything is now hosed with paint ready for assembly
| 
47
10 23 12b
Lots of plasma, heat and bending and welding before the bumper is complete.
| 
48
10 23 12c
Hood Insulation/sound deadening now in place. Same as I use on all the old iron. It really makes a difference
|

49
bumper-fab
11/4/12
Weld the deadmen, cut openings for the LED DRL's Led's, polish all welds, then hose paint
| 
50
11412-Bumper
| 
51
B1
|
52
B2
| 
53
B3
| 
54
B4
|
55
B5
| 
56
b7
| 
57
1
|
58
3
| 
59
4
| 
60
5
|

61
6
| 
62
7
| 
63
8
|
64
9
| 
65
10
| 
66
11
|
67
12
| 
68
13
| 
69
14
|
70
15
| 
71
16
| 
72
17
|
73
19
| 
74
21
| 
75
23
|

76
24
| 
77
25
| |
