
1
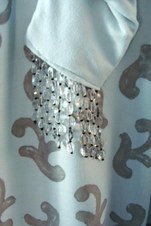
Shirt Mock-Up Front
| 
2
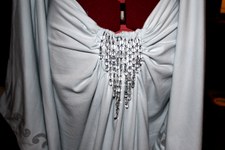
Shirt Mock-Up Back
| 
3
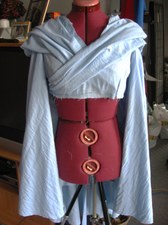
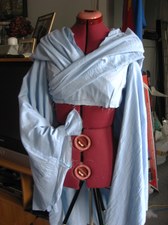
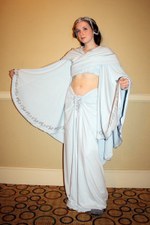
With the under cape pinned on.
|
4
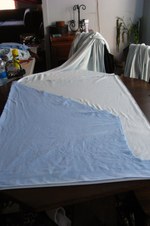
Fabric and parts without flash under florescent light.
| 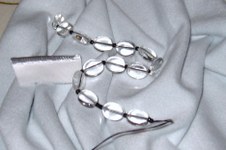
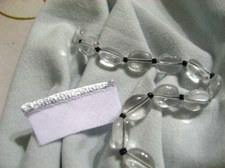
5
Fabric and parts with flash.
| 
6
After seeing her patterns and scaling them up, I can't believe how easy the cape thing actually is lol.
|

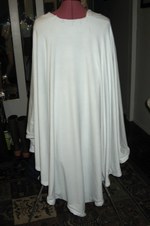
7
Back of the cape.
| 
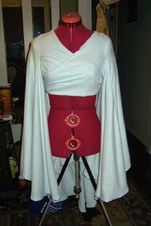
8
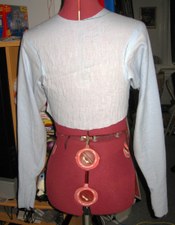
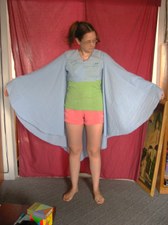
Trying it on for the first time. I had to adjust the shoulders because my dress form has steep shoulders, mine are straighter across. I also need to lengthen the bust a few inches, otherwise I may end up flashing people *oops*.
| 
9
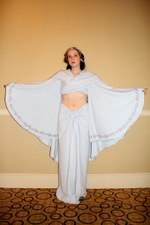
Back view, I think I may shorten the cape about 2-3", I know it's long, but this is really long, even after accounting for the seam allowances.
|

10
Crop Top and inner sleeve. Just a tad too short, I run the risk of falling out the bottom of this if I don't lengthen it a bit. The sleeve fit perfectly and will be really awesome with the correct fabric and piping.
| 
11
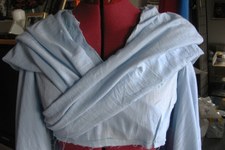
Front after pinning on the hood.
| 
12
Close up of my really wrinkly mock-up fabric lol.
|

13
The back hood. I was running out of fabric, so I had to make it a little shorter along the top, when I do the real one, I will make this a little more drapey.
| 
14
Completed mock-up top. I didn't self line the hood or cape in the mock-up, it's not really needed.
| 
15
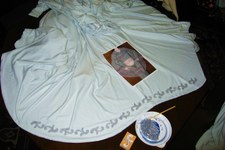
Cutting out the good fabric by using the mock up as a pattern.
|

16
All the fabric cut and ready.
| 
17
Cutting out the hood... I hope the 2.5 yards I have left will be enough for the skirt *eep*
| 
18
The sleeve from hell. I only say that because the fabric was shredding my thread. I had to go out the next day and get new thread and beeswax.
|
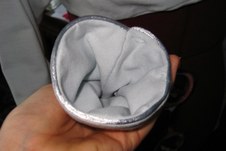
19
The inside of the self lined and piped sleeve :-) I'm proud of myself on the neatness of this. I'm slowly improving my technique with each project :-D
| 
20
Wax on the thread as it pulls through the machine. This worked like a charm, it kept the thread from shredding or getting tangled in the fabric.
Beeswax and Gutermann Thread
| 
21
Back of the top with the cape pinned in place to see how looks.
|
22
The bodice before the faux wraps and the hood.
| 
23
Paint tests. First it was too light silver, then it was too blue, and then it was perfect (top right corner flur).
| 
24
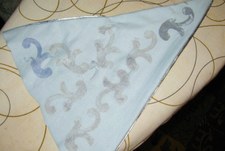
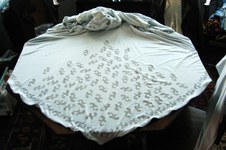
Painting the edges first, and then going to the middle of the back. This part is fun, but a little nerve wracking. I'm worried that with each stamp, it will be smudged or something lol.
|
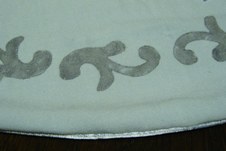
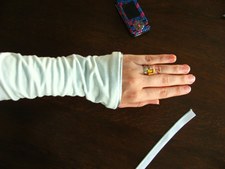
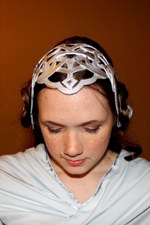
25
Stamp! I made it in ratio to my wrist. The actual costume looks like the flur is about as wide as her wrist, so that's what I did with mine :-)
| 
26
| 
27
|

28
| 
29
| 
30
|
31
| 
32
| 
33
|
34
| 
35
| 
36
|

37
| 
38
| 
39
|
40
| 
41
| 
42
|

43
| 
44
| 
45
|

46
| 
47
| |
