1
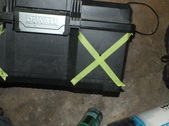
I've seen a bunch of videos on Youtube that have people fashioning boom boxes out of old coolers, suitcases, home-made plywood boxes and even a tool box. Some are rather crude and others quite impressive. I have a heap of old accessories from car stereos I'd installed, so I decided to try and make my own toolbox/boombox. The main reason I'd been putting this off is, I have zero workspace to do it, so every little detail takes forever while I clear my miniscule spot to work.
| 
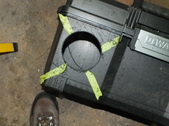
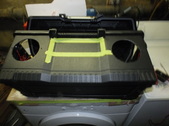
2
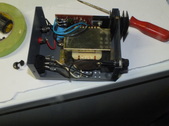
Somebody at work gave me a 12 volt power supply, so I will integrate that into the box, but first I'll do an easy task, put an antenna on it.
| 
3
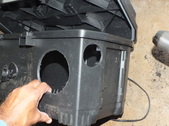
I have some 6 inch speakers from the truck I wrecked, but they're too big to fit the contoured face of the DeWalt tool box I chose. I've got a pair of speakers from a Mercedes which have been sitting around for ages, so I'll use them instead. I used tape to indicate where I should start the hole.
| 
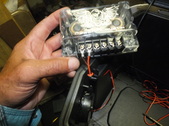
4
I took the cord off the power supply and drilled a hole in the back to run the cord through, then I'll solder it back onto the board, I made sure that I used a grommet that will help keep moisture from getting in too easily.
|
5
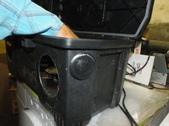
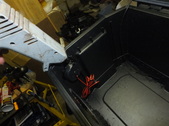
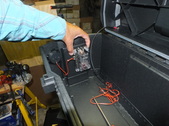
The hole saw walked on me, so despite making a starter hole, the openings aren't perfectly centered. One day I hope to have a workbench to do this sort of thing on.
| 
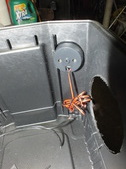
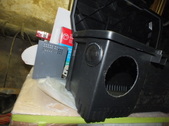
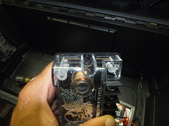
6
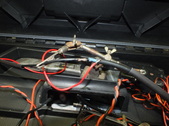
I also drilled a hole in each side for the tweeters.
| 
7
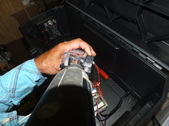
Most have a bracket that mounts them but this is an exception, so I'm going to have to lower my standards and hot-glue them in.
| 
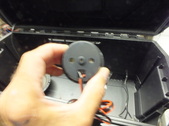
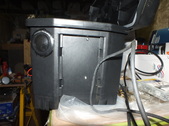
8
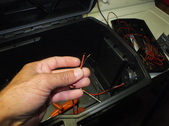
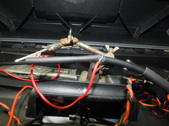
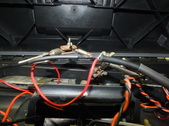
Here's the tweeter mounted, looking at it from the inside.
|

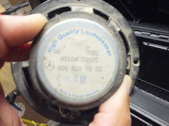
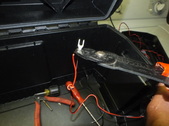
9
This is the Benz speaker, but only one is working so, that ruins those plans. This project is going downhill fast.
| 
10
It turns out that these are six ohm speakers. Most car audio is four ohms, so that's further impetus to ditch that plan. Too bad I drilled the holes first.
| 
11
This is the back of the tweeter, I have some brackets that act as clamps when secured to the back of the speaker, but these have no mounting holes. If I had room to lay thingts out, I could have pre-planned how I want to build this, but once again, space is my enemy, or lack of space...
| 
12
This is the worst way I can think of, but my options are limited, so hot glue to the rescue.
|
13
This is where the DIN Radio is going. I marked it out with tape. Once again I wish I had a work area where I could do a nice job making this thing, but with tropical storm Jose loitering offshore, I'm stuck here.
| 
14
The fit is good at least.
| 
15
This is one of the crossovers, which will be mounted on either side of the box.
| 
16
I knotted the wires coming off the speaker, to keep them from splitting apart.
|
17
These use fork terminals, so I strip the wire of the other side and will get that one mounted.
| 
18
A quick crimp and this side is ready to get secured to the side of the box
| 
19
Unfortunately, these were made to be screwed down and these's not enough room for a nut to slip over the hole.
| 
20
My Dremel tool has bailed me out of a ton of sticky situations. Grinding away the plastic will allow the nut to slip in place.
|
21
This is what it'll look like on the outside.
| 
22
I used an antenna that I had to replace on an old portable. Putting an input on it is a bit of a headache. I ordered an adapter and cut the end off. Now I just have to solder the lines to the correct sides. The royal drag is: the solder doesn't seem to adhere to the wire very well.
| 
23
I had some heavy gauge wire scraps lying around, so I used one for the lead. It happens to be black, generally the color of the ground wire. Since I'm making this for myself, I don't have to worry about anyone getting confused about the wire colors being wrong. I used some red scrap for the ground lead. Backwards, with a capital B!
| 
24
After getting the leads soldered, I'm going to slip some shrink tube over them to help keep them in place.
|
