1
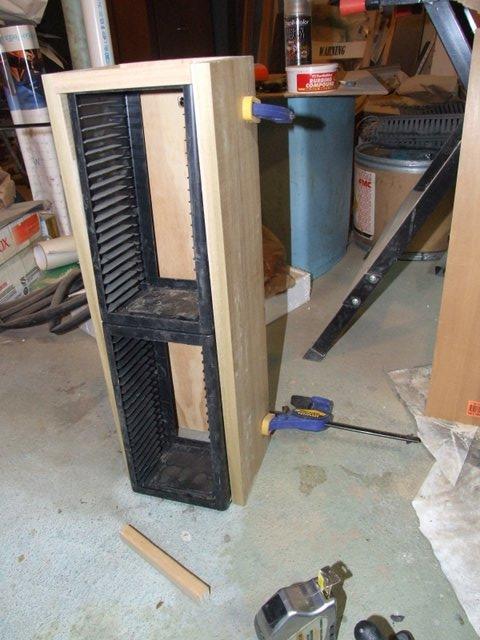
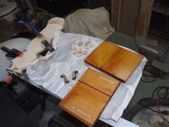
There's an airbrush artist named Dennis Mathewson who's work I really admire. He's based in Hawaii and he also carves tikis. When I saw some of his work, I told myself, "I could do that". Of course I greatly overestimated my woodworking abilities. I can do it, but it won't be perfect the first time out, as I am now discovering. I had some poplar lumber which I was going to build a CD tower out of, it wasn't straight, level or plumb, so I put it aside and never got around to building it. Since I'm not going to make it as tall as originally planned, I cut it the length of a store bought CD stack, seen here.
| 
2
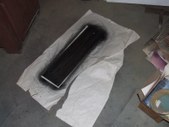
I cut a rear piece out of 1/4 inch plywood. The inside was of poor quality, so I sprayed it satin black to match the CD holders' plastic trays. I measured the halfway point and put two hanging holes in it using a special router bit.
| 
3
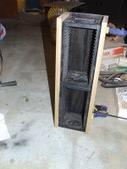
Here it is now. You can see the dark spot which is where one ply had split away from the rest on the upper right side.
| 
4
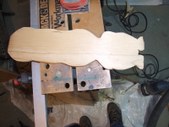
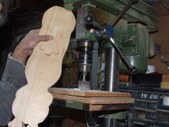
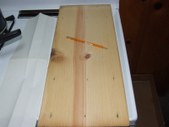
Working from my own imagination, I sketched out a tiki on paper and cut it out from some old pine shelving.
|
5
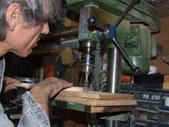
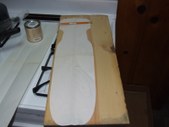
I put a sanding drum in my drill press and went about trying to smooth away the saw marks. A Saber saw was used to cut out the outline and left some ragged edges.
| 
6
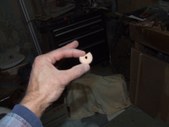
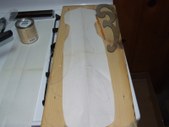
I then cut out his schnozzola, seen here.
| 
7
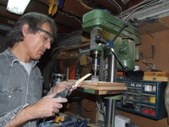
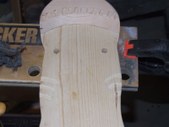
I then switched to a small sanding drum in my Dremel moto-tool to shape the nose.
| 
8
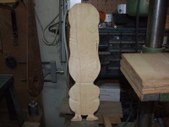
I also used the Dremel to give his body some contours. If anyone asked me what I was making, the appropriate answer would be, 'Sawdust'!
|
9
The mouth and teeth were next.
| 
10
I wanted to give him an overhanging brow, but didn't want to waste an entire piece of shelving, since I still have to do another tiki for the other side, so I double-stick taped a scrap piece to his head. I'll use a pattern following bit in my router to save me the headaches of cutting it with the saber saw.
| 
11
Here's his forehead. The problem here is, the grain on the bulk of the body is running north/south, but on the forehead, in order to fit it, I had to run it east/west. This can cause some problems when I glue it together. Wood tends to expand and contract with the humidity, and this situation can cause it to crack and split.
| 
12
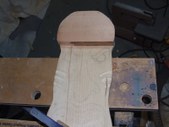
To give me more surface area to work with, I arced the forhead. This will allow me more room to fasten the eyes and nose.
|
13
Now I chamfered the forhead, making it less severe looking.
| 
14
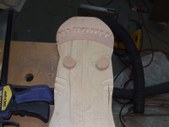
I used some carving knives to chip-out a decoration in the headpiece. In the process I broke out several of the dentils. I'll have to come up with a creative way to disguise it.
| 
15
Now his eyeballs are cut out. I wanted to use a hole saw, but didn't have any the right diameter.
| 
16
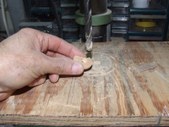
Like the Hooter owls, I'm going to put blinking L.E.Ds in his eyes, so I drill 1/4 inch holes for the plastic clips which the L.E.Ds snap into.
|
17
Since the clips expand, I drill a larger hole in the rear of each eye to allow them to securely hold this electronica.
| 
18
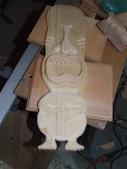
Although not yet glued up, here's how he'll look with all of his features.
| 
19
I routed a decorative edge on the front and sides of these flat pieces which will be the top and bottom of the CD rack. I've been calling this, " My Seedy Tiki", since 'CD' sounds like 'seedy', and I'm building this on the cheap, using materials I had lying around my apartment. I stained the top and bottom pieces a pine color, I also stained the eyebrows a dark walnut. The teeth and eyeballs I simply coated with sanding sealer, to maintain their lighter tones.
| 
20
While waiting for the stained pieces to dry, I decided to sketch out a face for the opposite side. My piece of wood has several knots and nail holes in locations which make it difficult to work around them.
|
21
I drew my idea out on a piece of folded paper, then opened it to see where the holes and knots fell.
| 
22
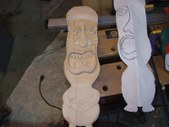
After redrawing the head, I decided to use the K.I.S.S. method. "Keep It Simple Stupid". I spent too much time on the first Tiki, so this one will be a bit more monolithic, kind of like the heads on Easter Island.
| 
23
Time to start assembling tiki #1. I drilled holes where the eyes will be for the wires running to the L.E.Ds.
| 
24
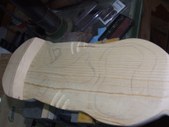
Then I flipped it over and routed a channel for the wires, which will allow it to sit flat against the side.
|