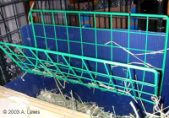
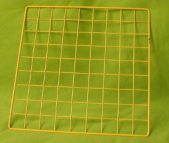
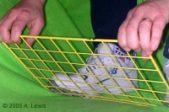
This hayrack has been created by bending a grid. (See the end of the photo album for instructions on how to bend a grid panel.)
| 
They hayrack is attached with two cable-ties at the top of the grid to the side of the cage.
| 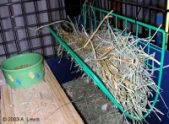
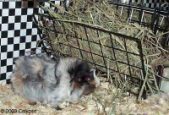
Guinea pigs can eat hay from the sides or below.
|

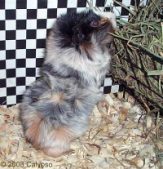
They can eat from the top.
| 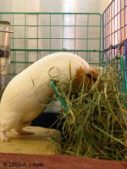
Dara has no problem reaching the hayrack from her wooden stool.
| 
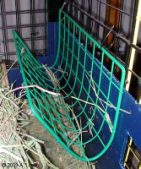
Calypso used Lily Grace's instructions to make this hanging-grid hayrack for her guinea pigs.
|
Max inspecting the hay and the new hayrack.
| 
In order to bend a grid, first look for the grid's "joint-line." If you bend the grid the wrong direction, the grid will break along it's joint-line. The joint-line looks like an imperfection in the plastic coating; a line encircling one of the outer edges of the grid.
| 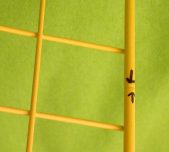
Close-up of the grid's joint-line.
|
While sitting down, place your feet on the side of the grid closest to your body. With your hands, hold the side farthest away from you. The side with the joint-line should either be in your hands or under your feet. While holding down the grid with your feet, pull the grid towards you with your hands. It should bend.
| 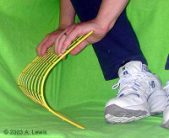
After the grid is a bit bent, you can remove your feet and press down toward the floor to bend it further. Bend it just a little at a time and keep checking to see if want to bend it more or stop.
| 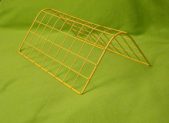
This is what the grid looks like after it has been bent.
|
